Looking to turn PrestaShop into a mobile app without rebuilding your store or writing code? Prestafy turns your existing website into a native iOS and Android app, synchronised with your catalogue, prices, stock, carts and orders. This guide covers all six steps, from installing the module to publishing on the App Store and Google Play.
Can you turn a PrestaShop store into a mobile app?
Yes your store can be extended with a mobile app. It does not replace your PrestaShop website: Prestafy creates a native app connected to your catalogue, prices, stock, carts and orders. Your store remains the foundation of your e-commerce business, and your data stays in sync.
If you are still deciding which format fits your needs, see our guide comparing mobile apps, responsive websites and PWAs. Already convinced? Let’s get started.
What you need before getting started
A live PrestaShop 1.7.8 to 9.x store.
A Prestafy account. The Discovery plan is free and requires no credit card, so you can customise and preview your app before paying anything.
No technical skills are required: compilation, signing and app-store submission are handled for you.
Ready to turn your PrestaShop store into an app?
Create your app free from your store URL. No code or credit card is required to get started. Create my PrestaShop app
Step 1 : Create your Prestafy app
Go to prestafy.fr and create your account. It is free with the Discovery plan and does not require a credit card. Then start creating your app: give it a name and enter your PrestaShop store URL. Prestafy uses your website to preconfigure the app in your brand.
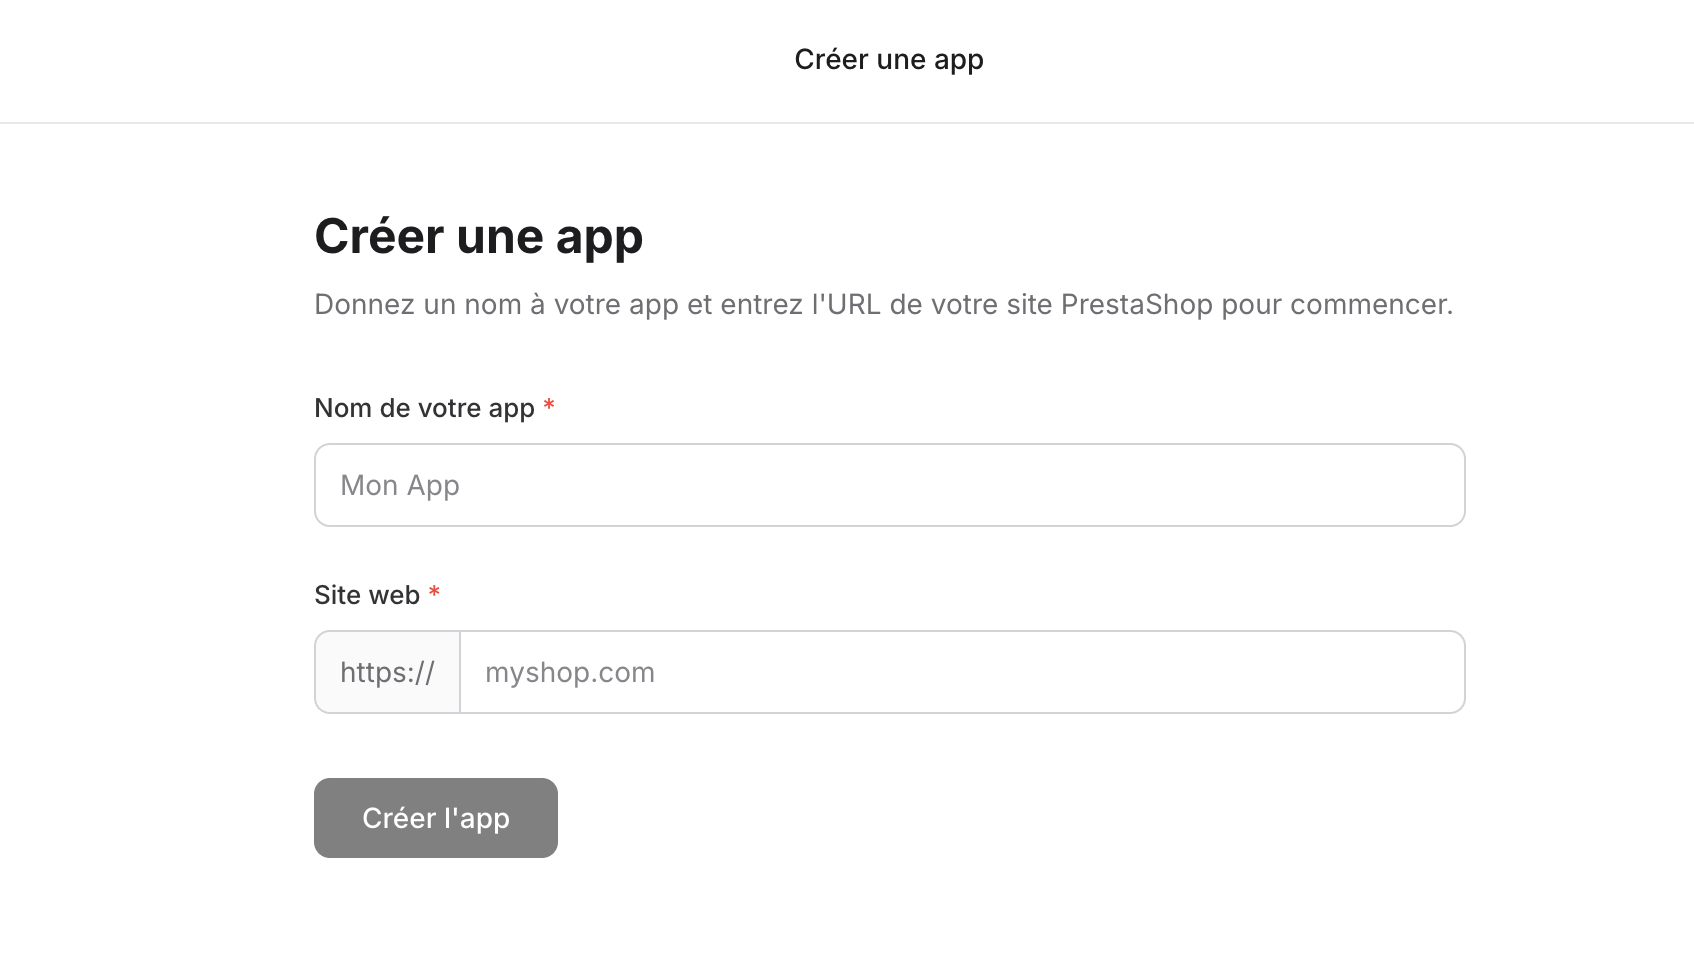
Create your app: a name and your store URL are all you need.
Step 2 : Install the Prestafy module on your store
The Prestafy module is the secure bridge between your PrestaShop store and your future app. It exposes your catalogue, prices, stock, carts and orders to the app.
From the Connection page in your Prestafy dashboard, download the module and copy your connection token, the API key that links your store to the app. Keep this token confidential.
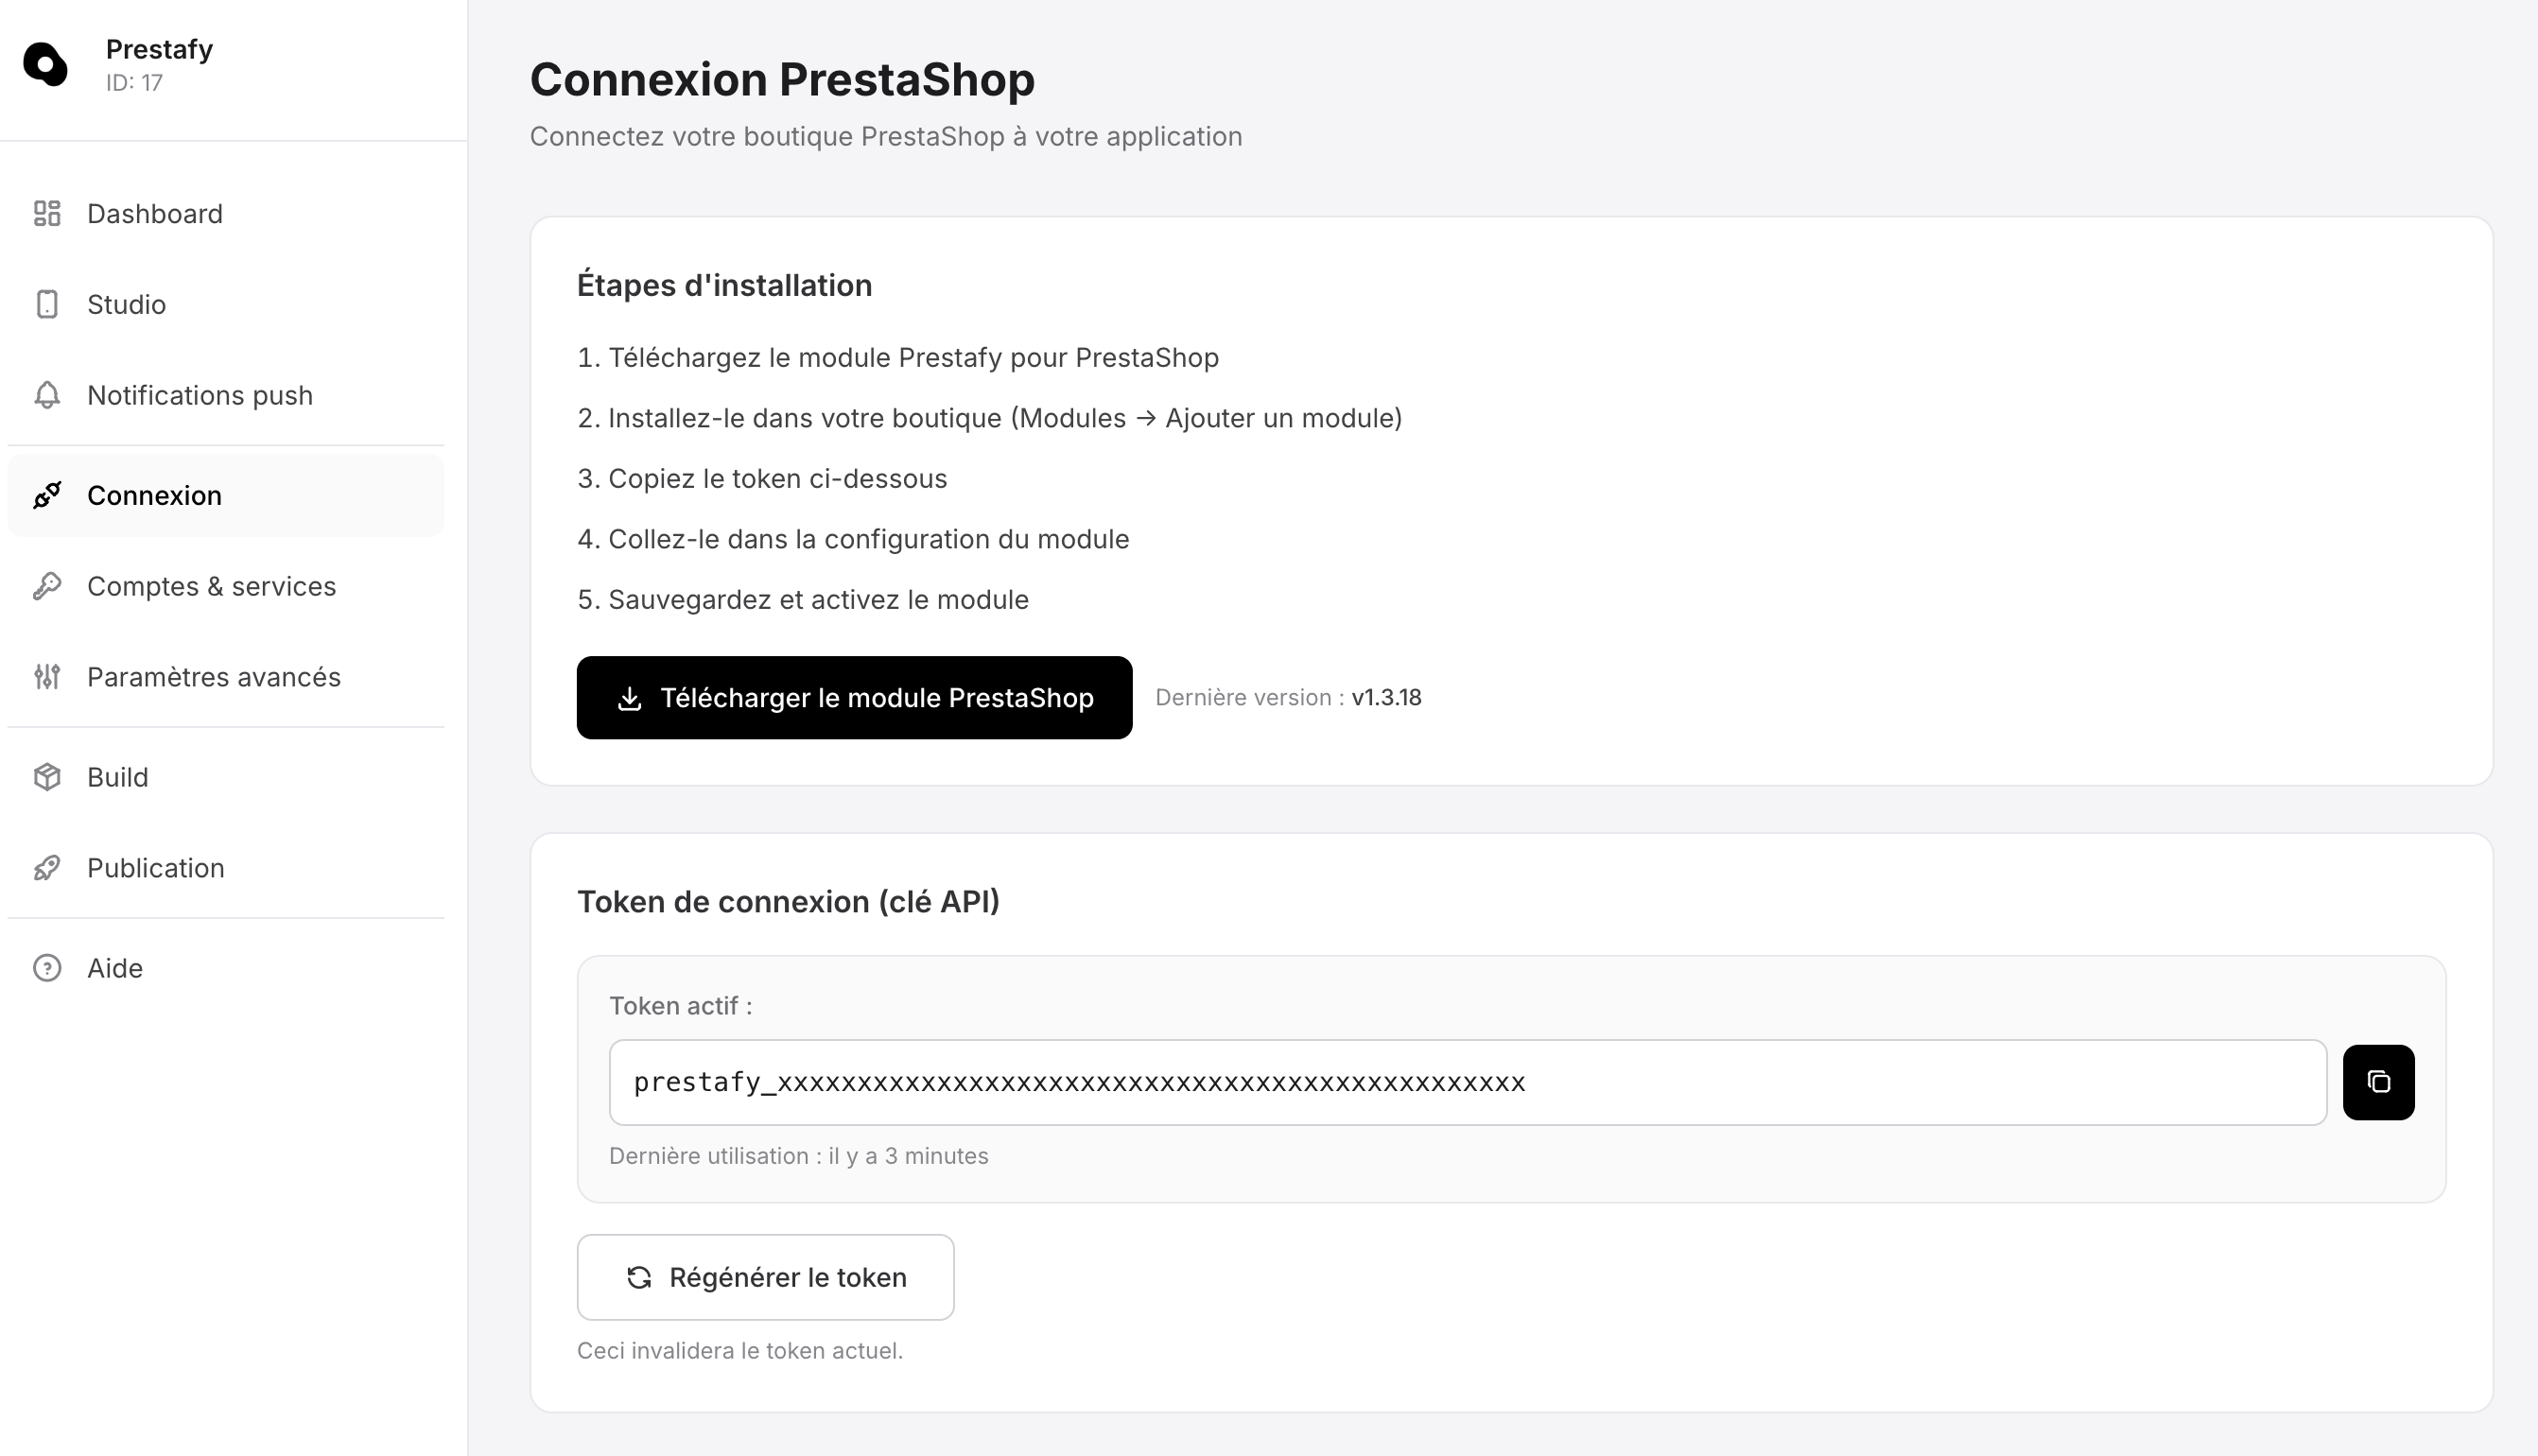
Download the module and copy your connection token.
In your PrestaShop back office, go to Modules > Module Manager > Install a module and upload the archive you downloaded. Installation takes only a few seconds.
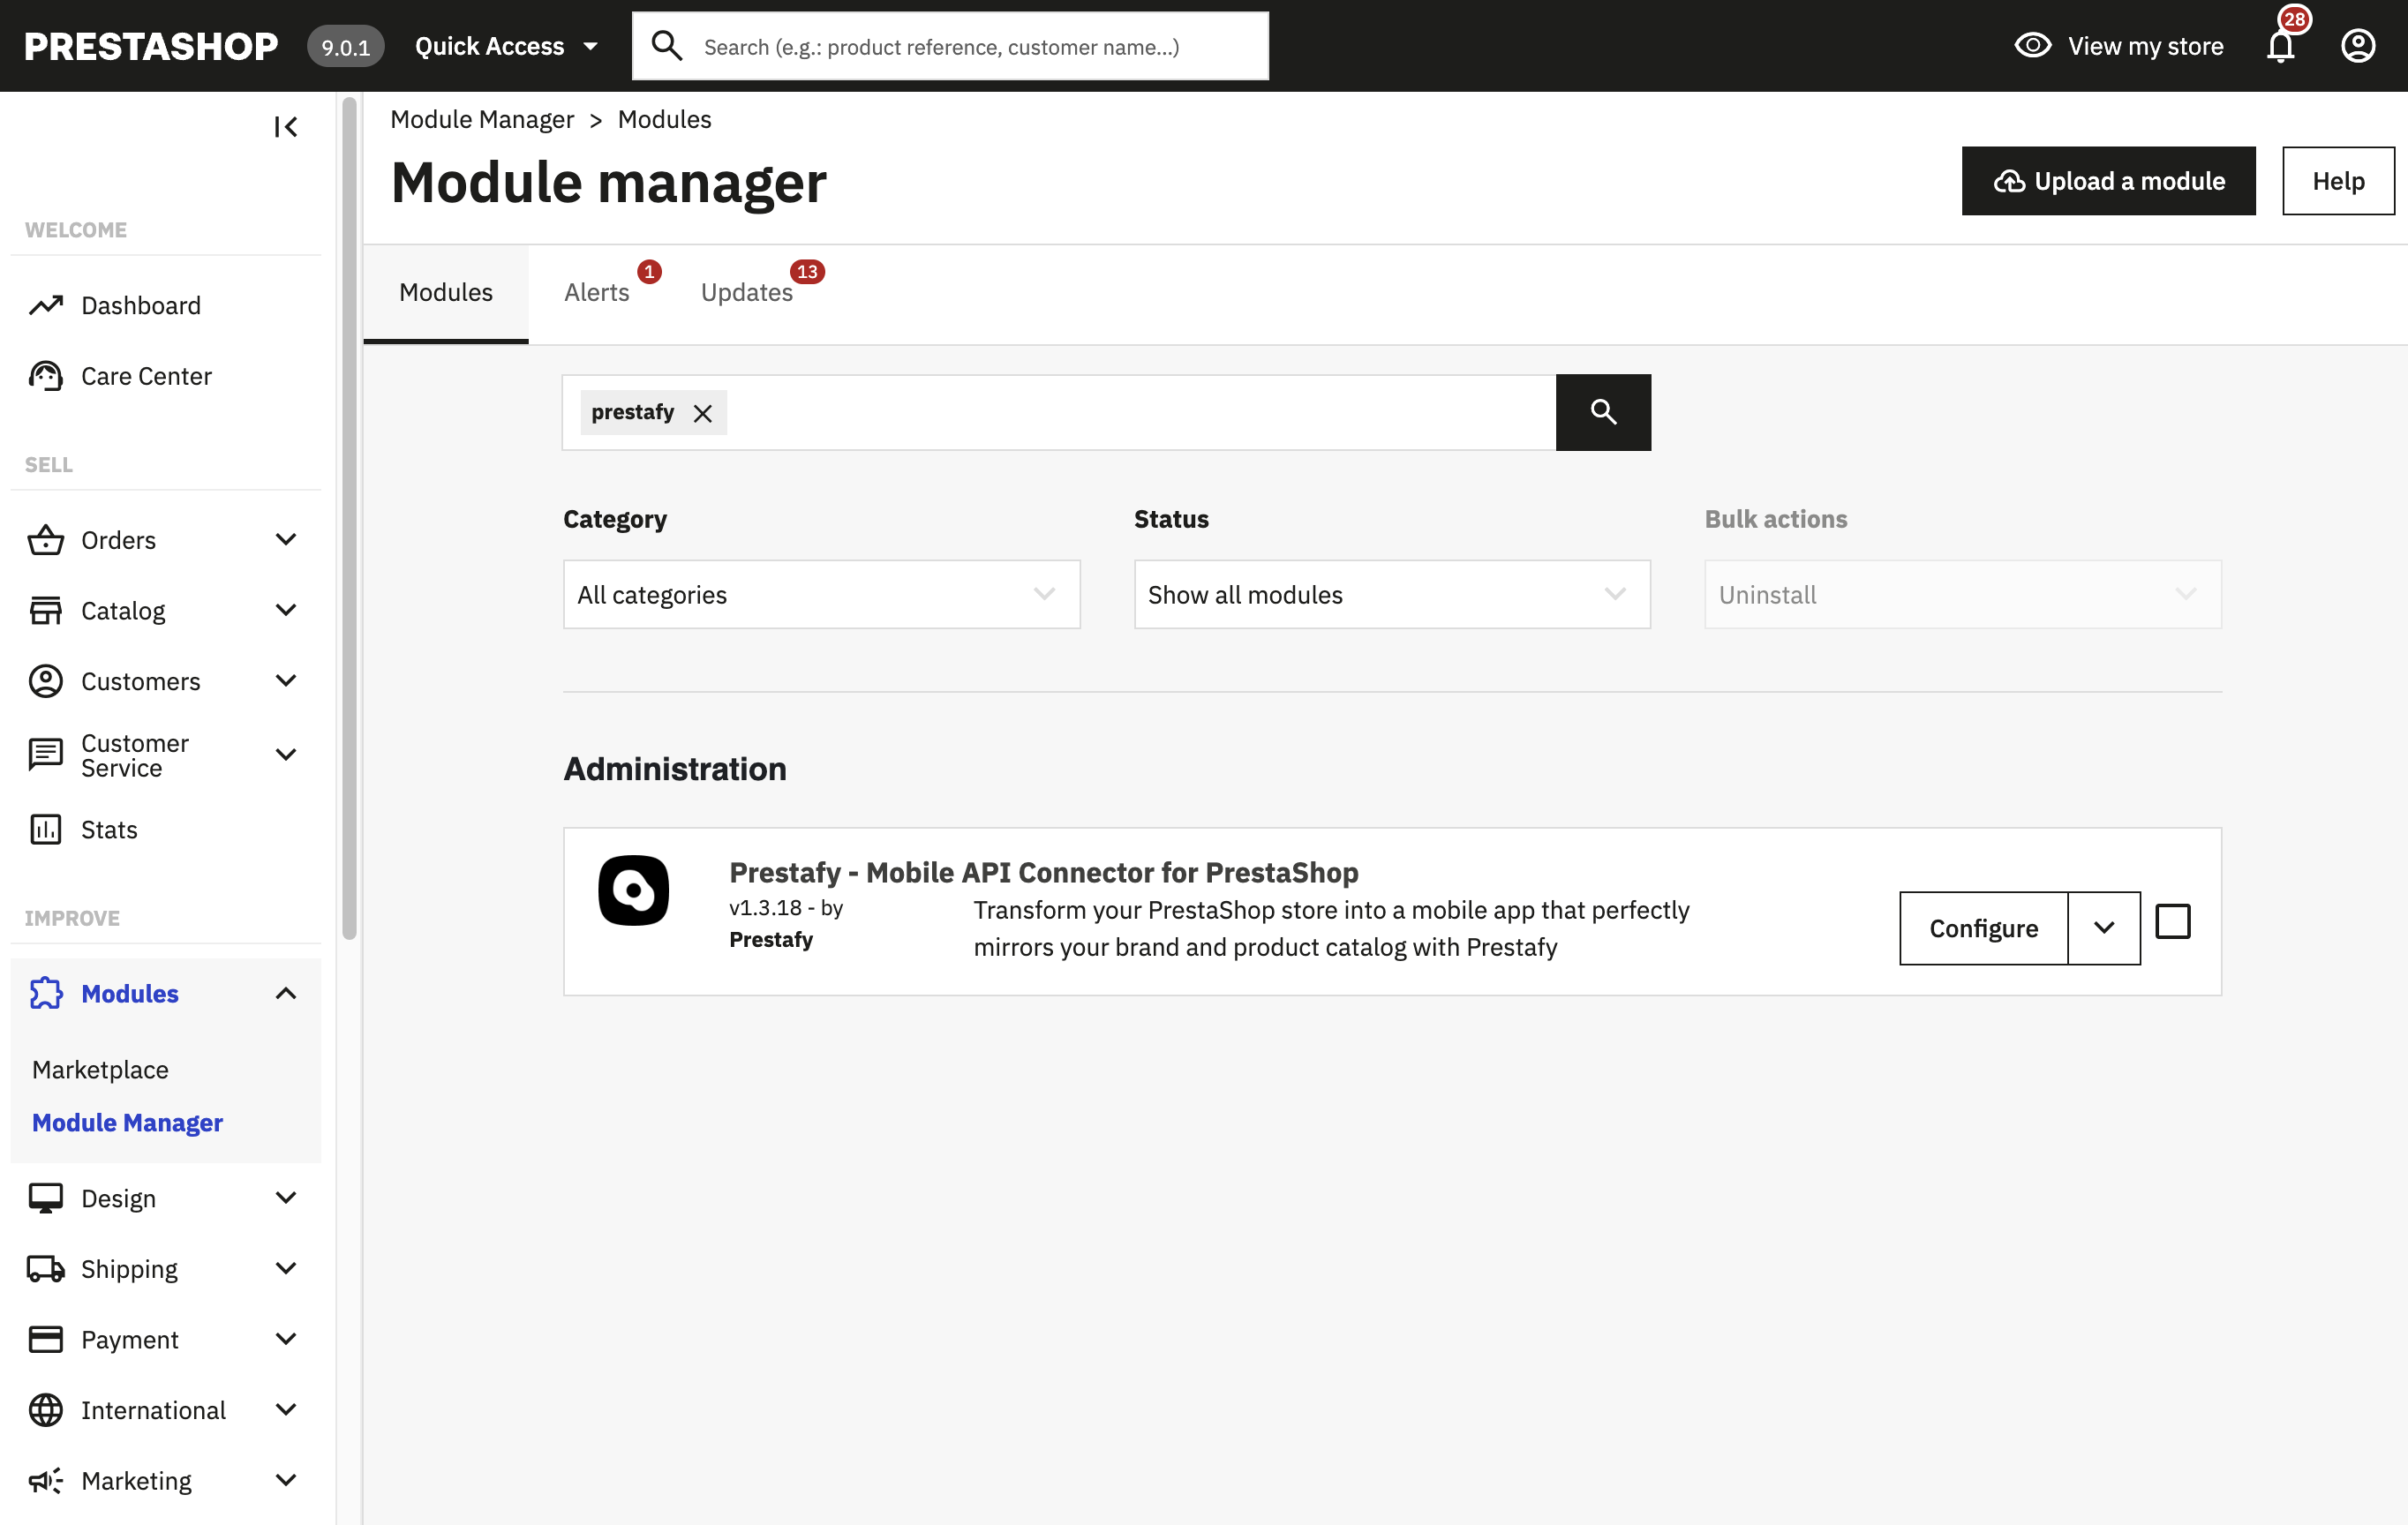
The Prestafy module installed in the PrestaShop back office.
Step 3 : Connect your store to Prestafy
Open the module configuration in your back office, paste the token copied in the previous step, then save. Prestafy immediately checks the connection: a green status confirms that your store is connected and that your catalogue is available to the app.
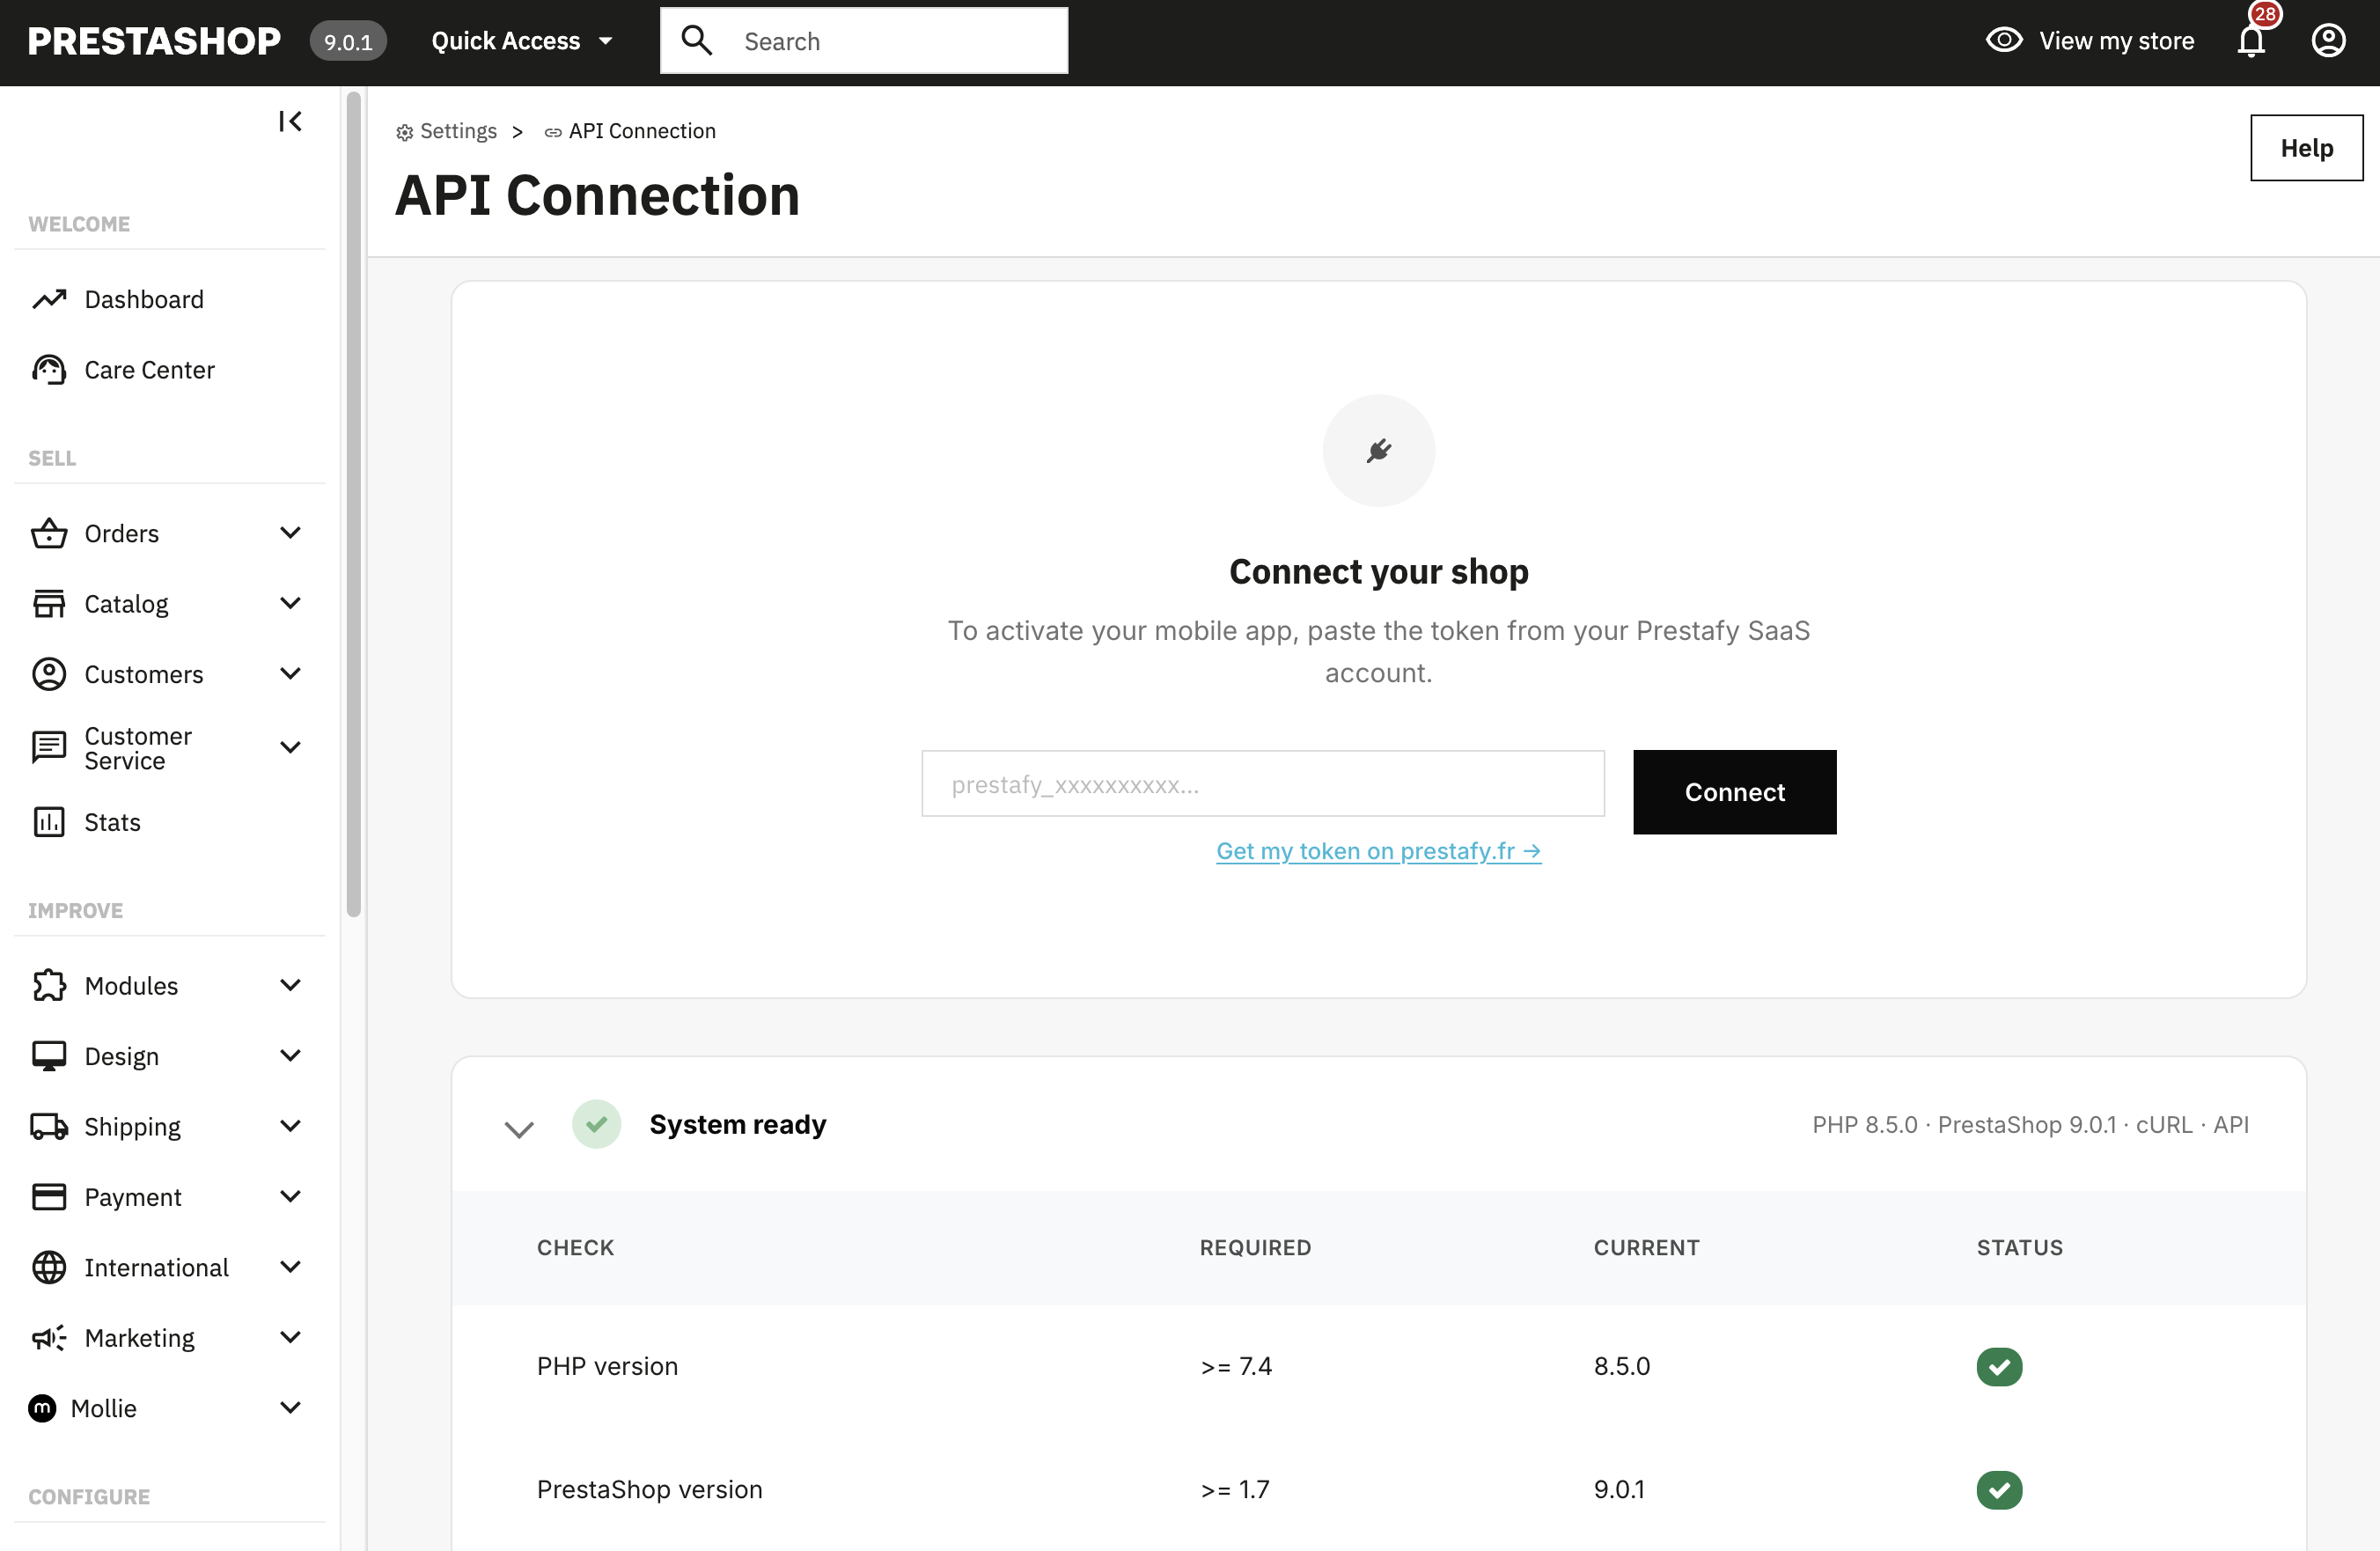
Paste the token into the module: your store is connected.
Step 4 : Customise your app in Studio
This is where your app comes to life and becomes your brand. Prestafy Studio is a no-code editor: every change appears immediately in the preview, with no recompilation required.
Choose your colours and theme
Set the primary colour, secondary colours and overall style to match your visual identity, or start from a ready-made palette. Your app reflects your brand, not a generic template.
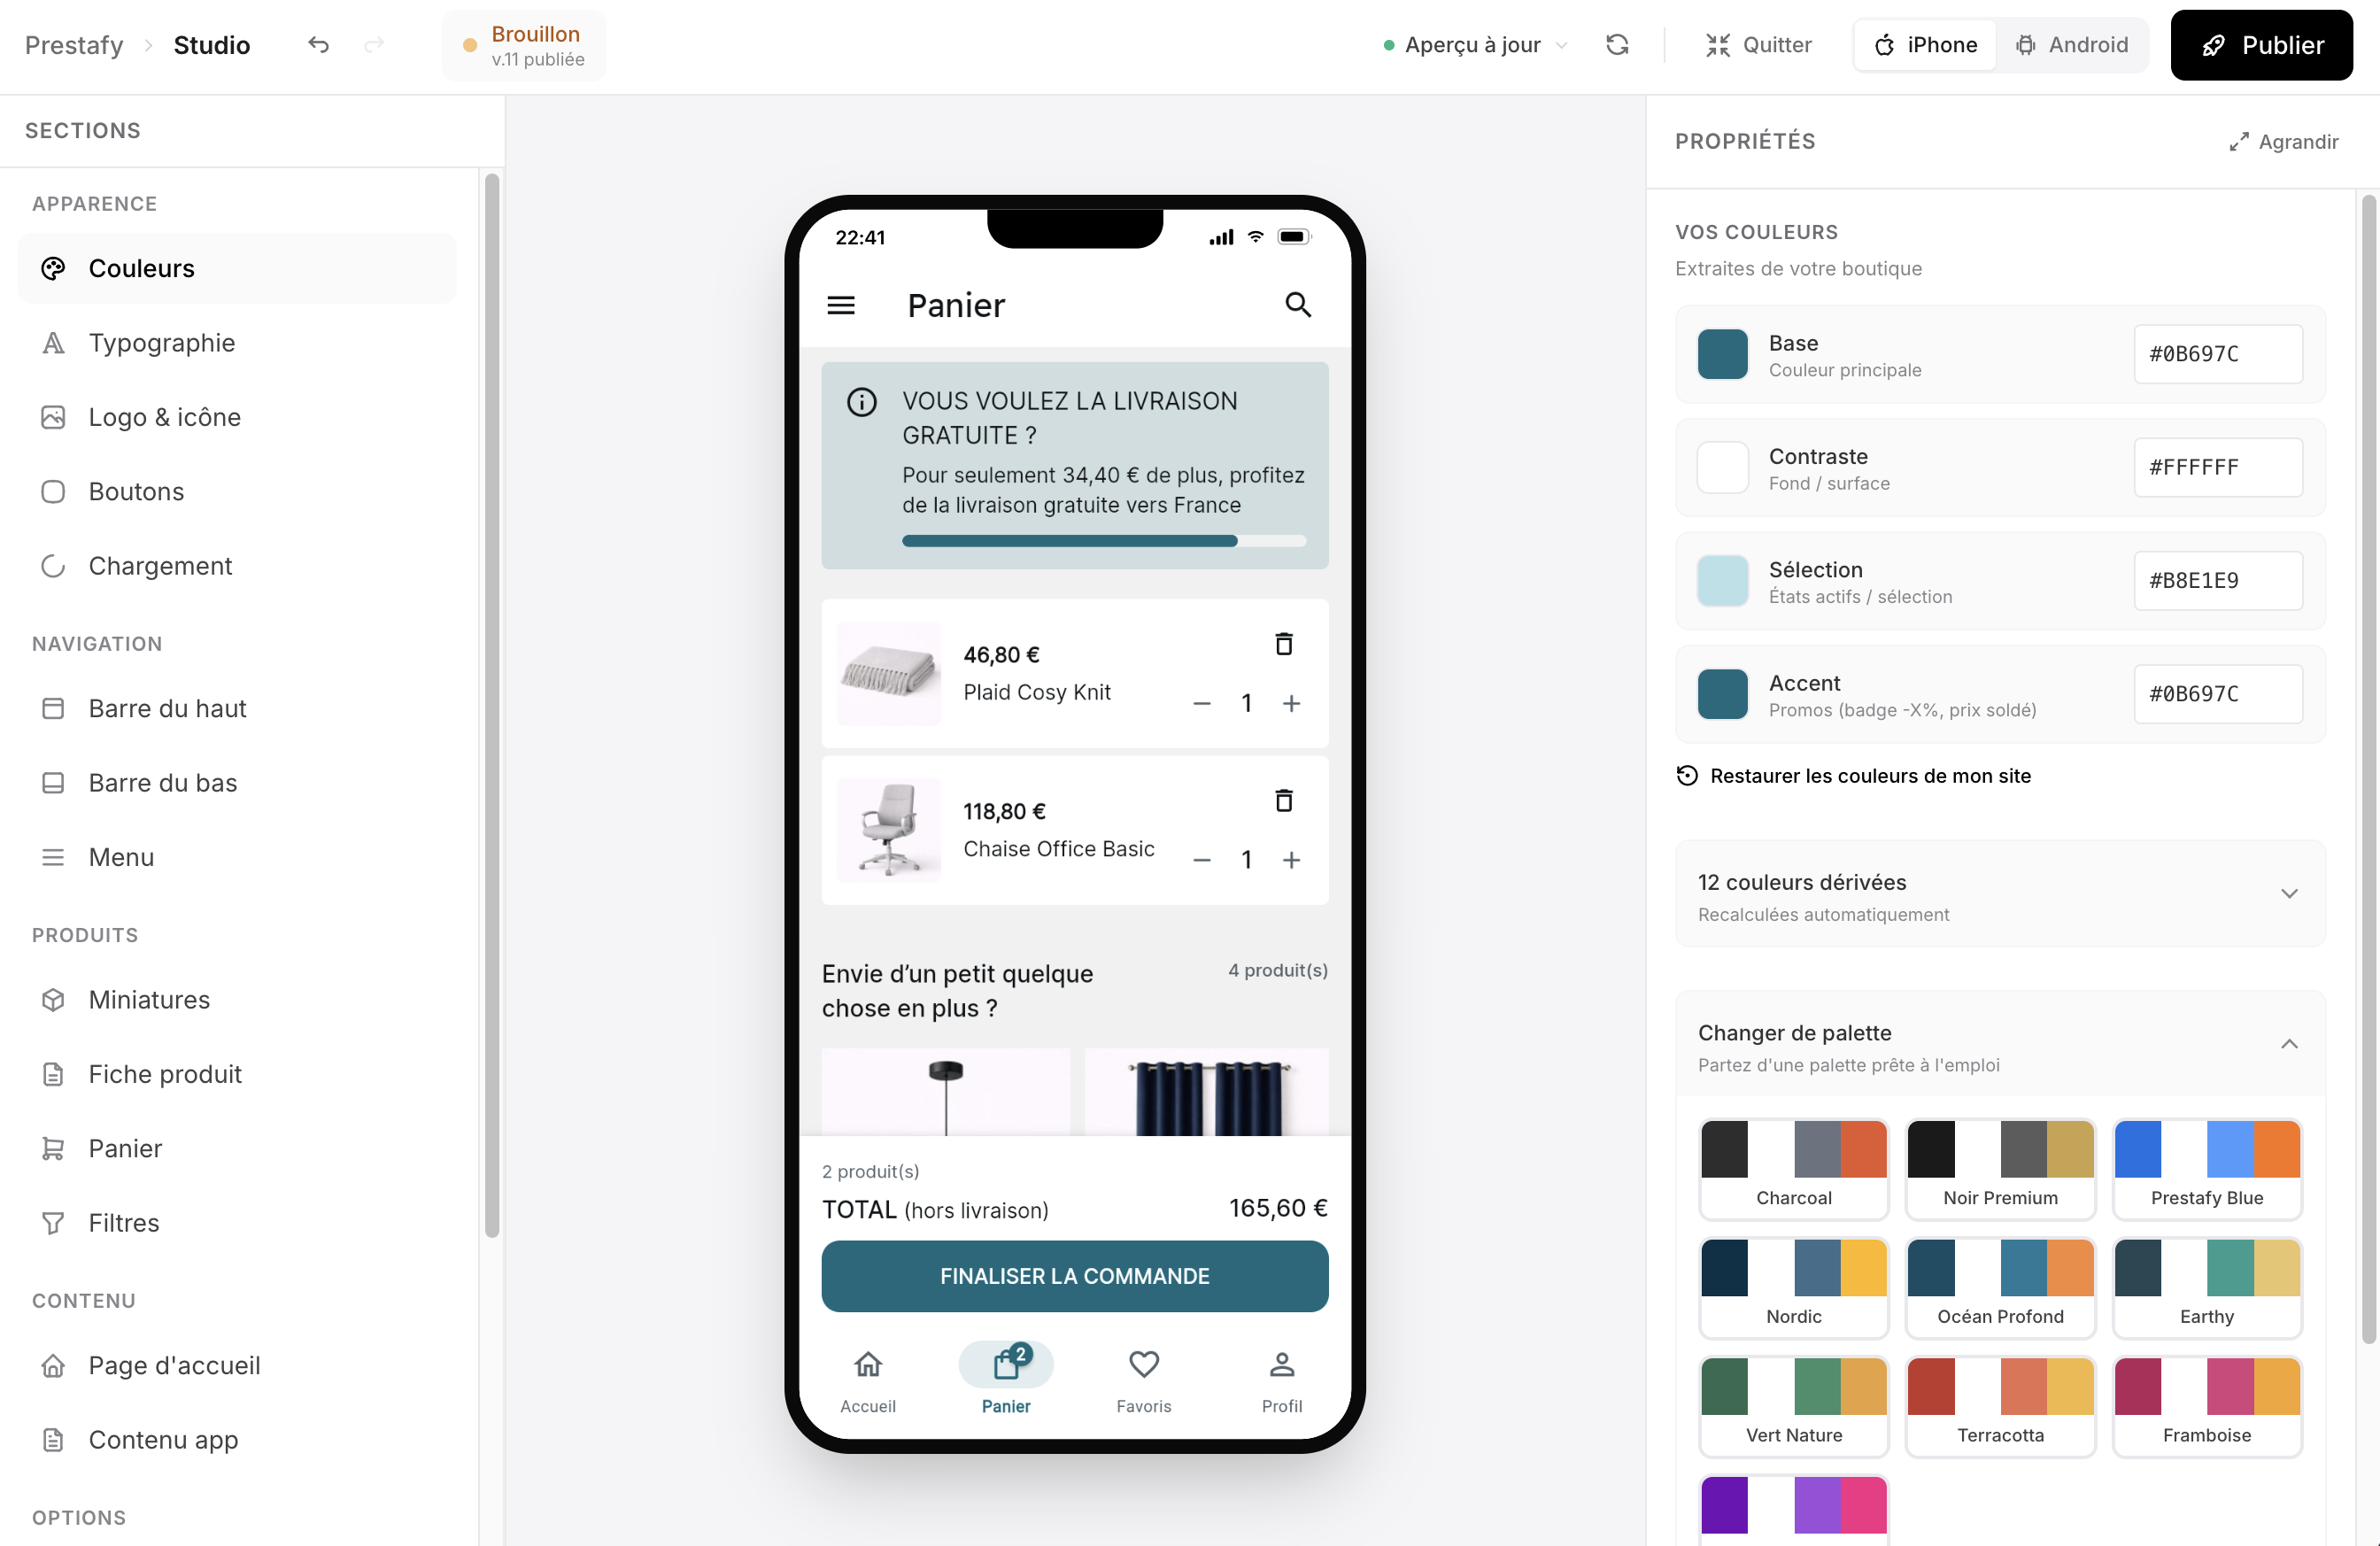
Adjust your colours: the preview updates live.
Build your home screen
Build your home screen by stacking blocks: sliders, banners, product carousels, new arrivals, best sellers, brands and trust elements. You decide what customers see first and in which order.
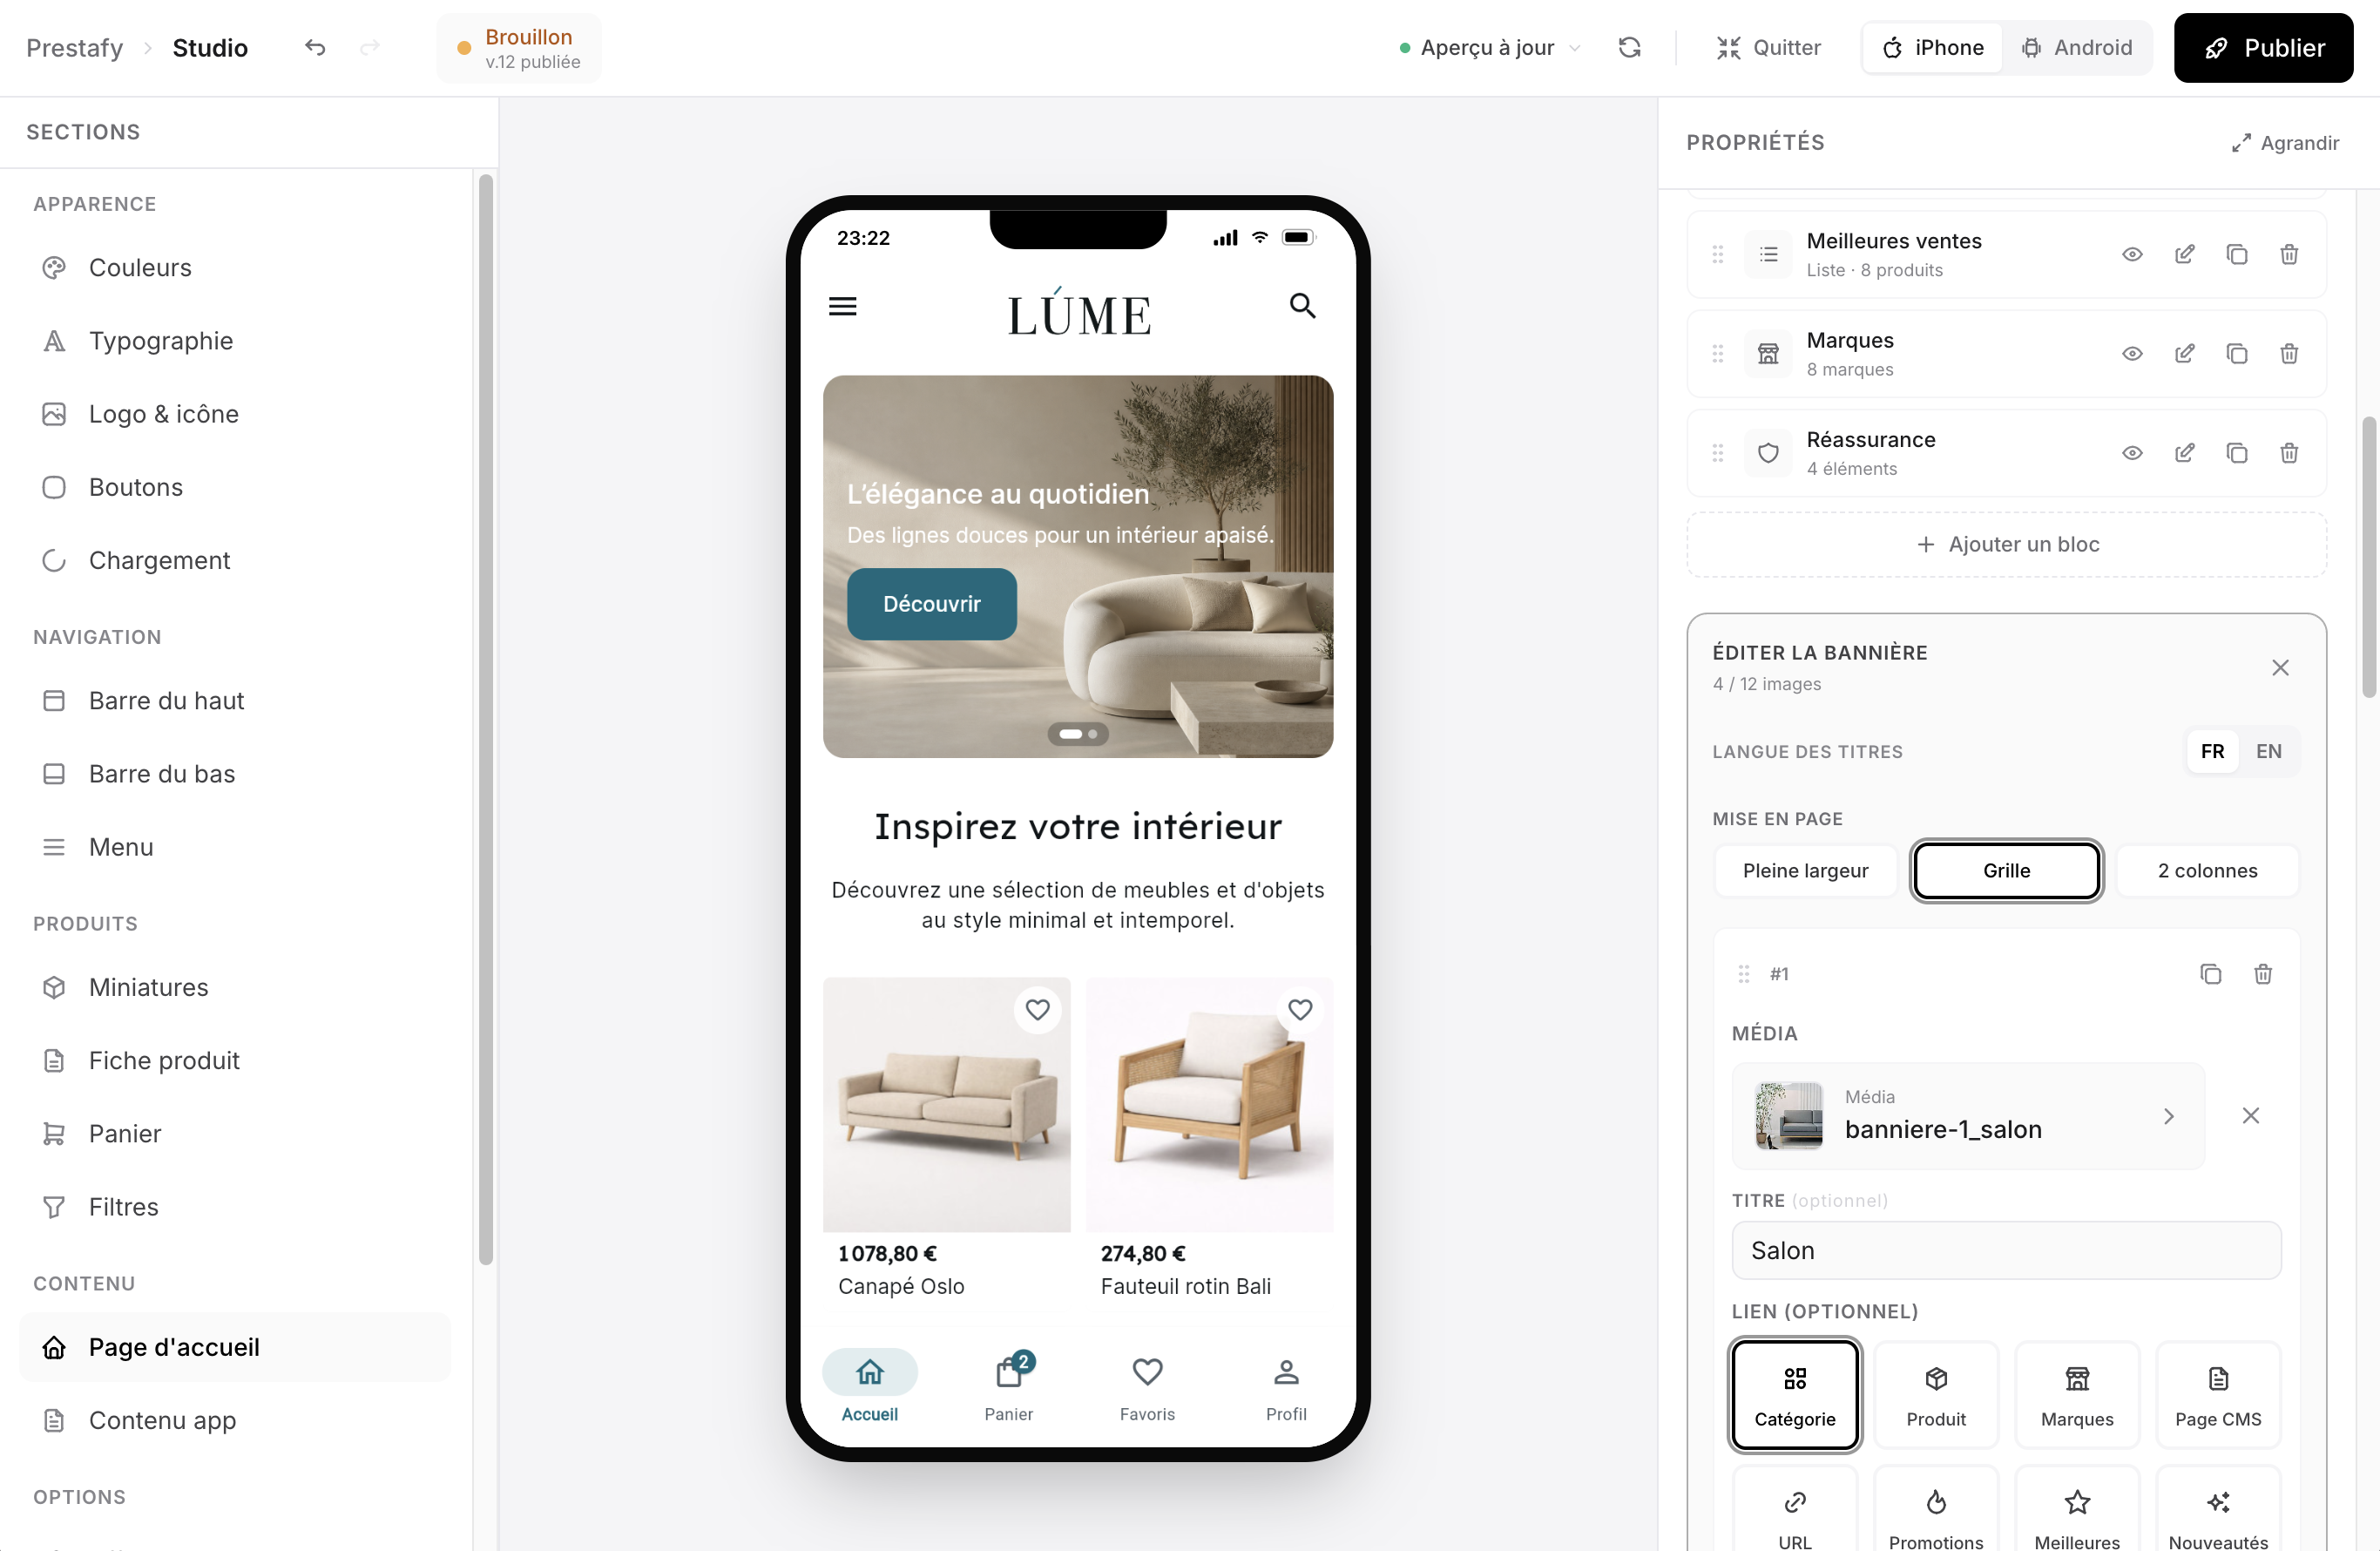
Build your home screen block by block.
Set up navigation and your logo
Customise the bottom navigation bar, menu, logo and tab order. You can also offer your app in multiple languages to reach an international audience.
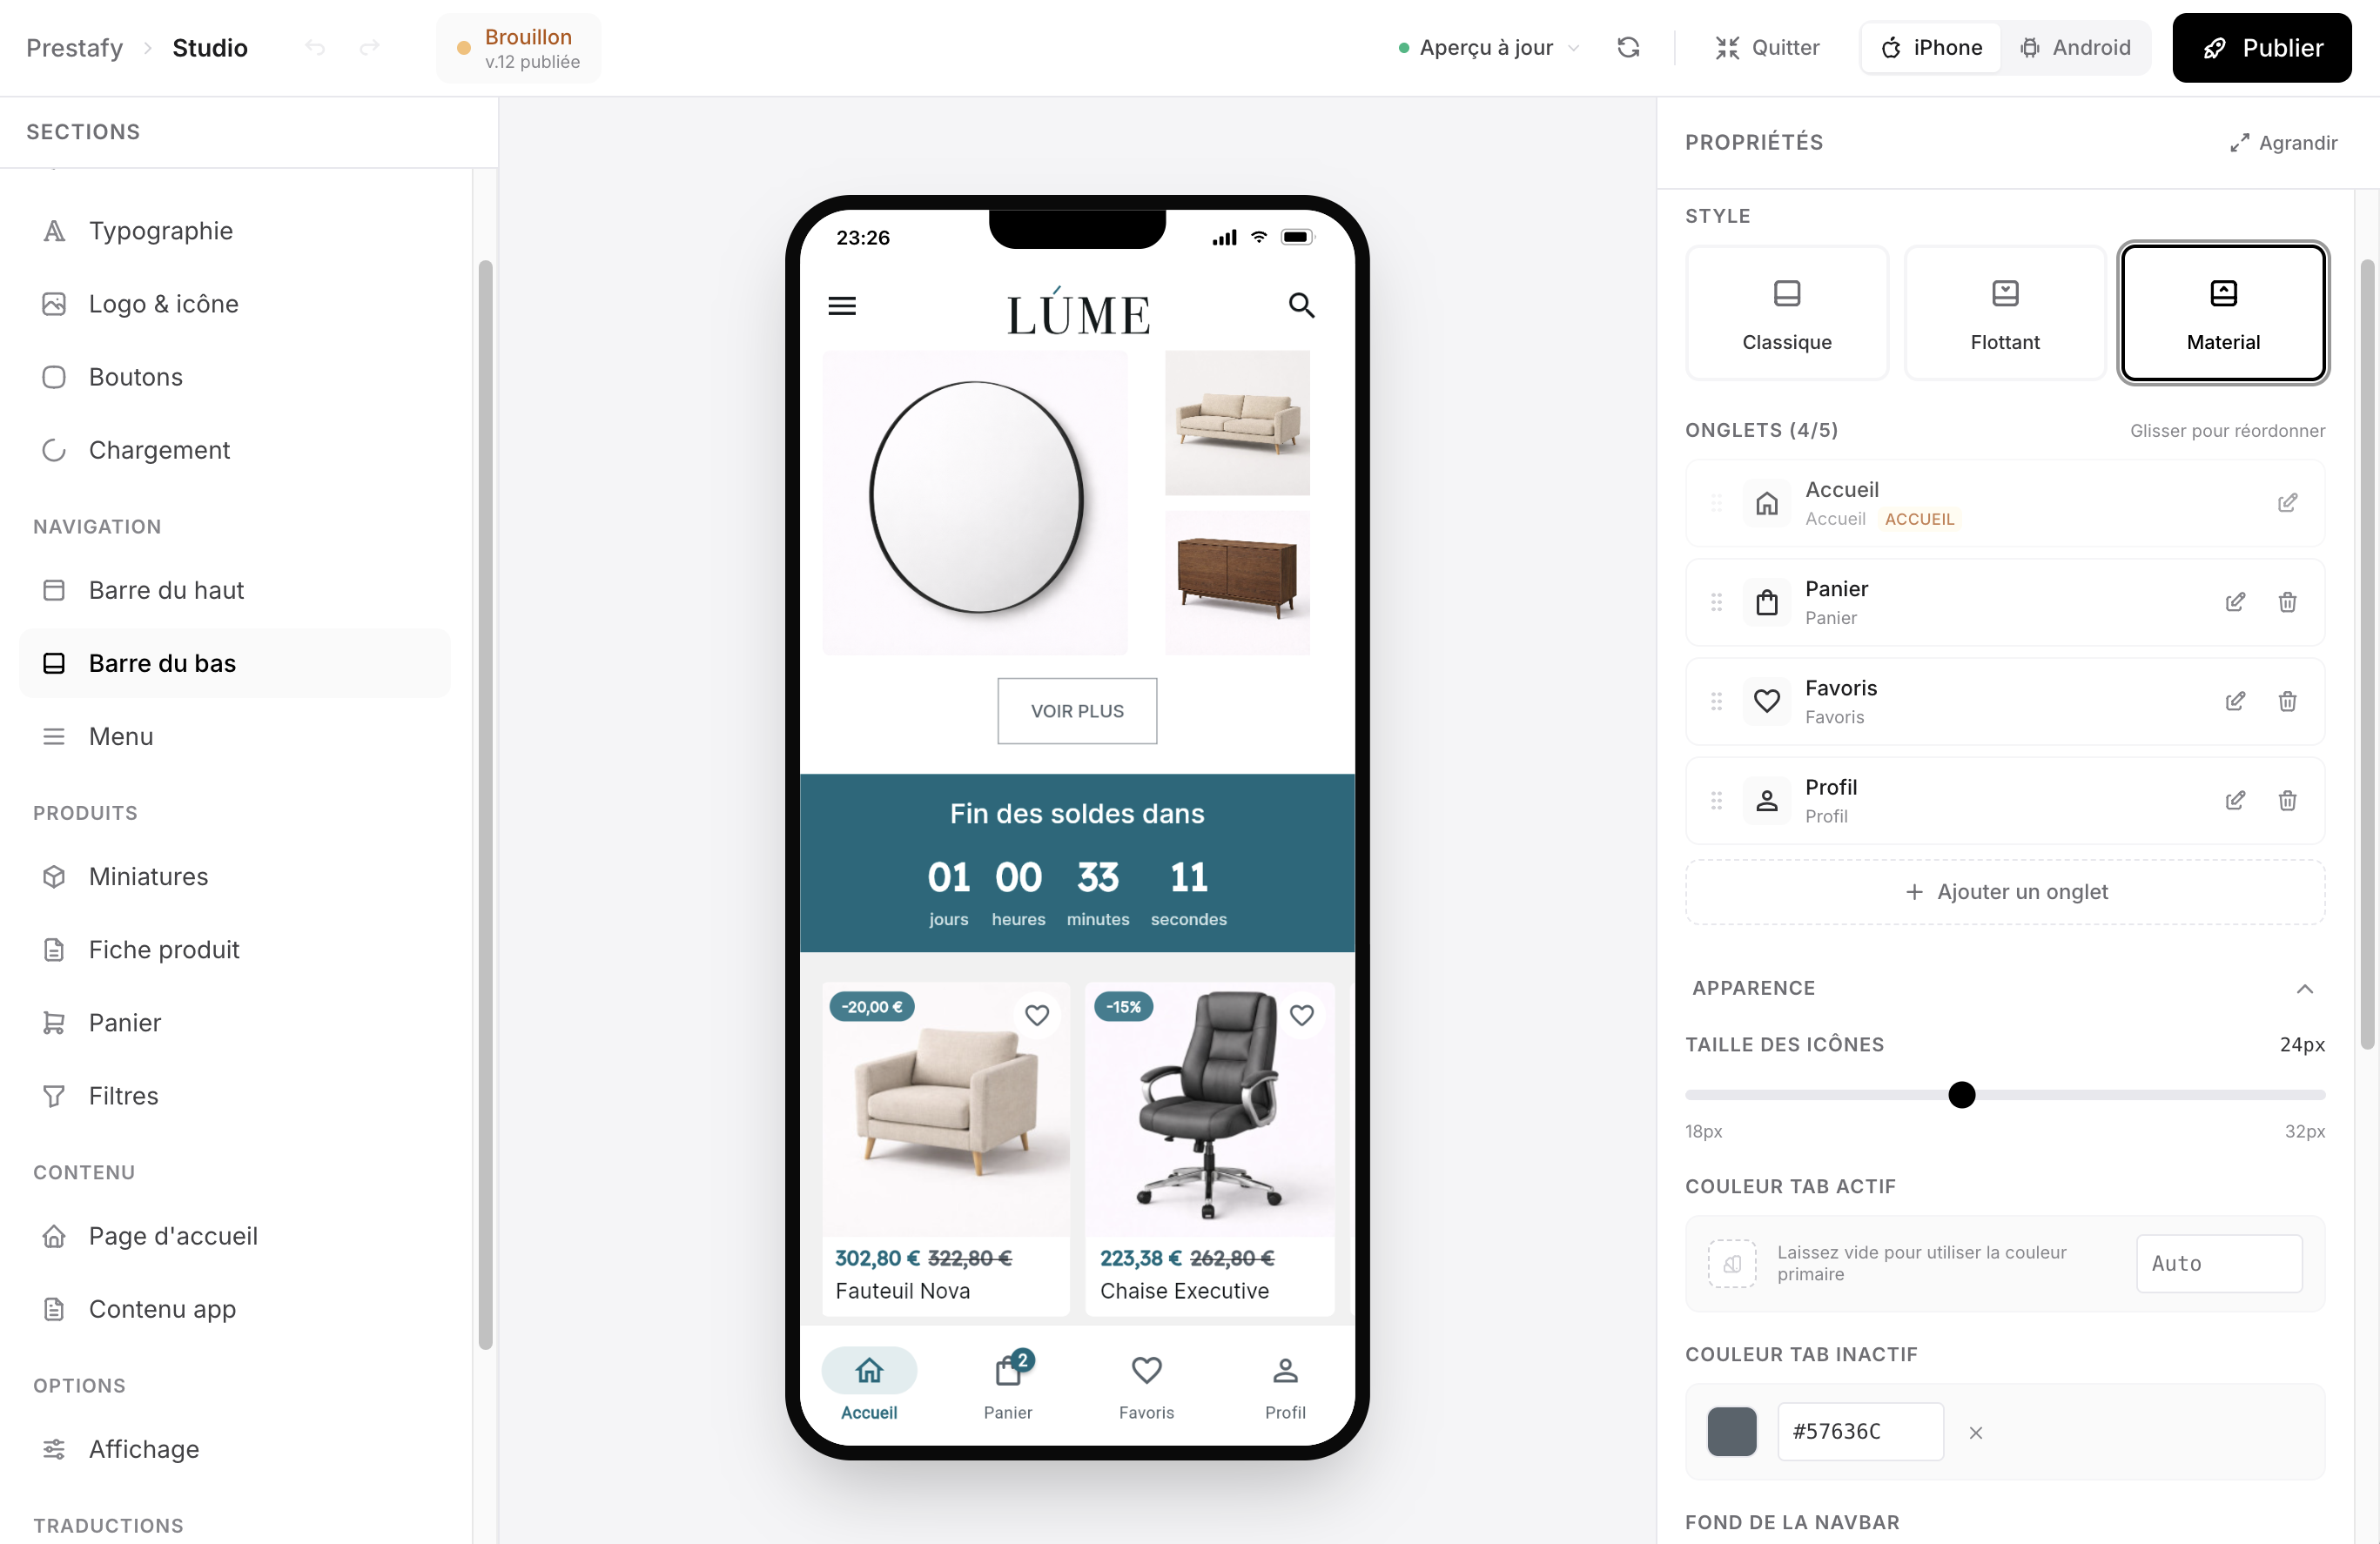
The navigation bar, logo and tabs are fully customisable.
Fine-tune product lists and product pages
First, configure your product list display: card format, customer reviews, promotion badge, add-to-cart button, stock label and information order. This is what customers see while browsing a category.
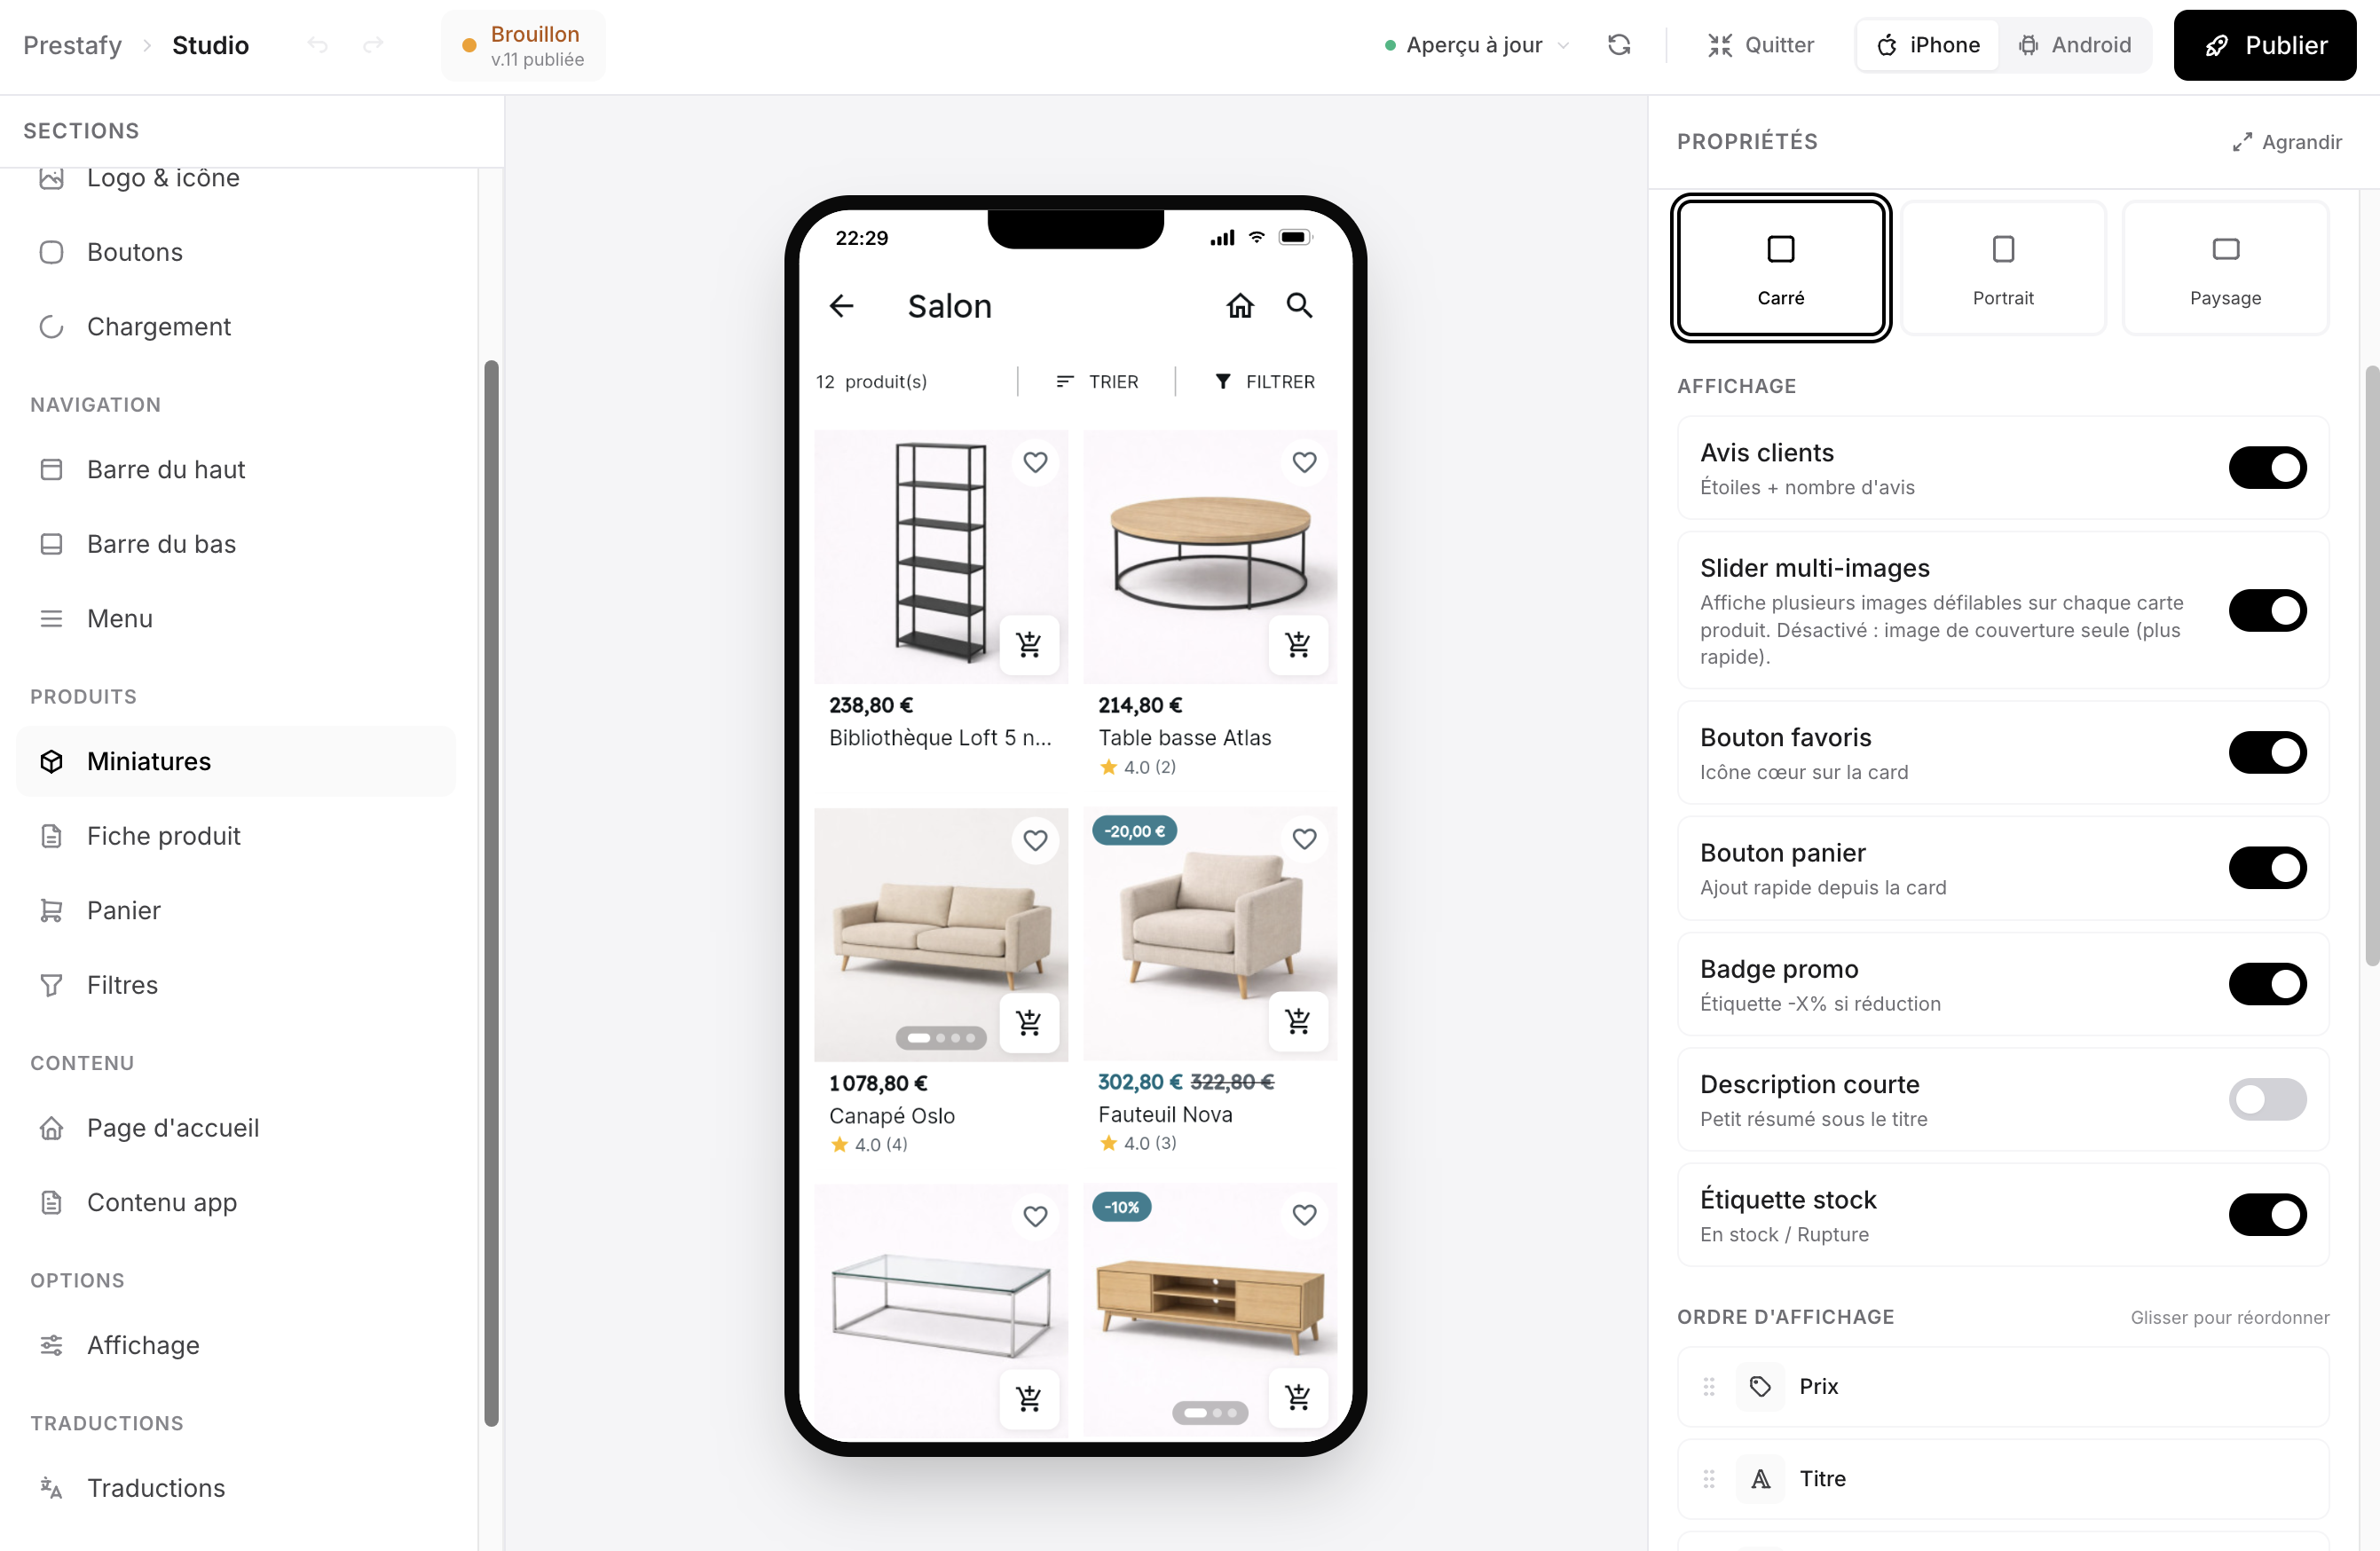
Configure how your product lists are displayed.
Then configure the product page in detail: image gallery, customer reviews, related products, variant selector and add-to-cart button. Everything is previewed in real time on a smartphone.
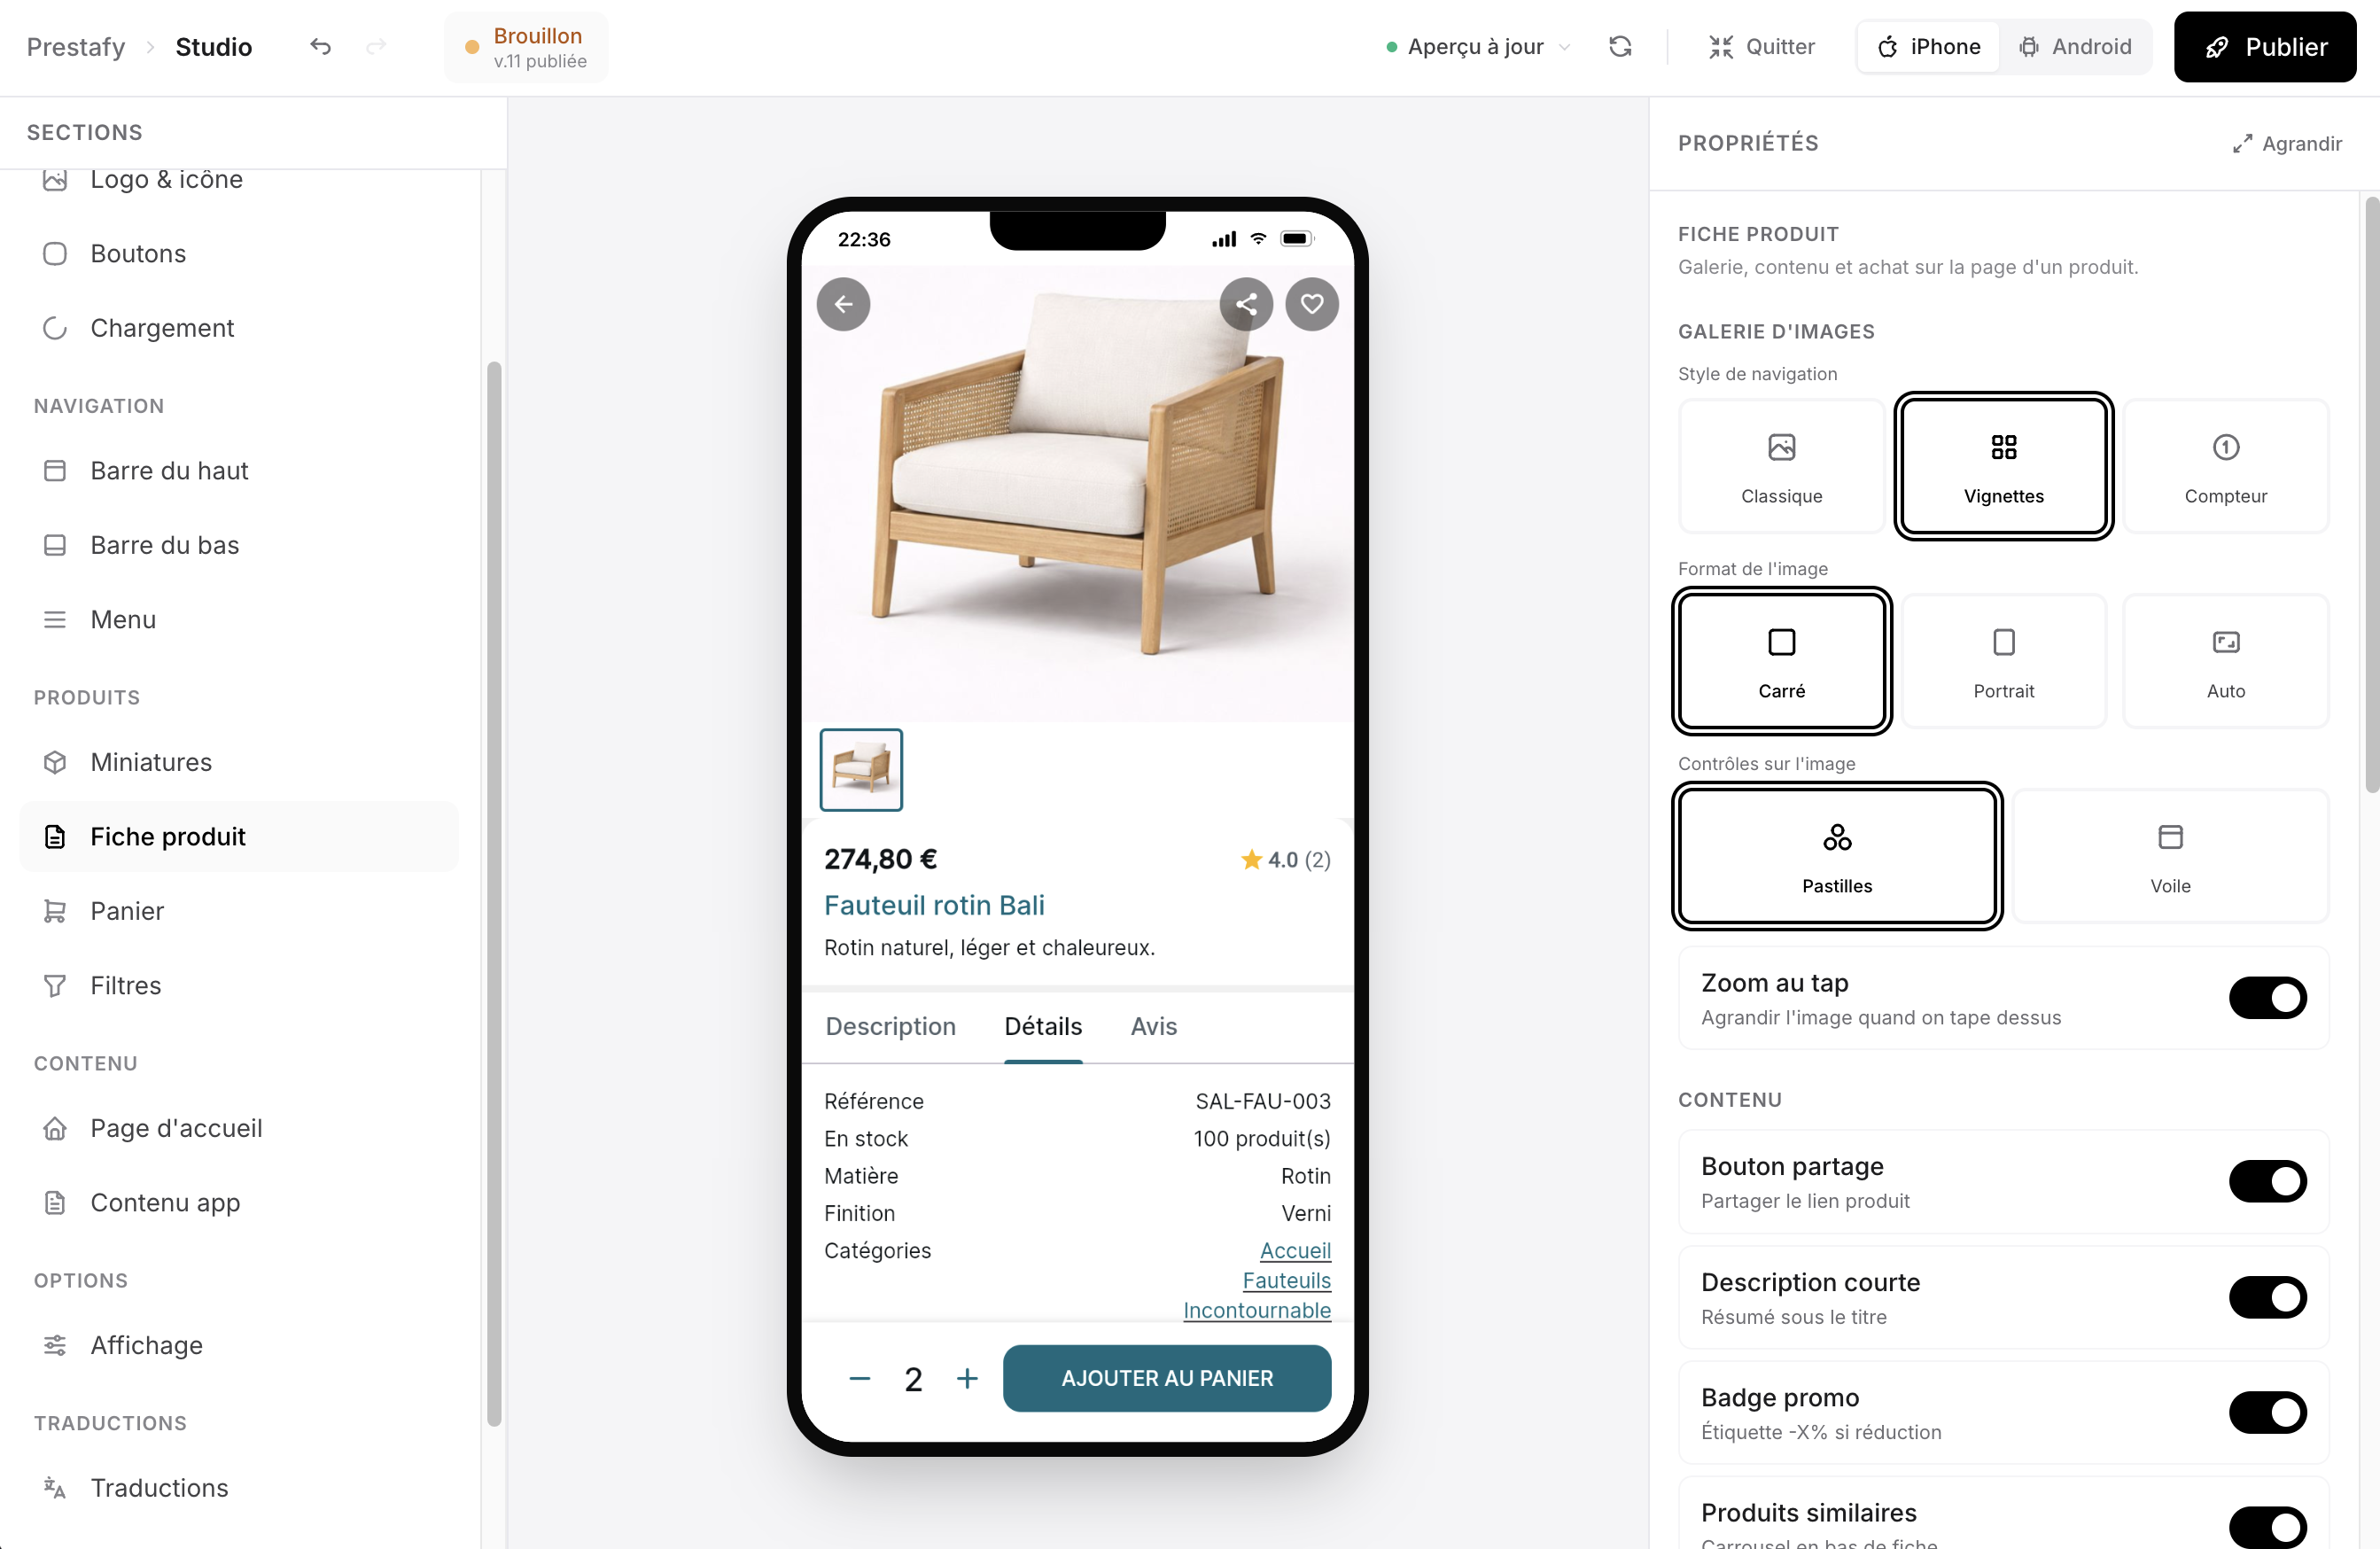
Fine-tune your product page, with an instant preview.
Step 5 : Enable push notifications
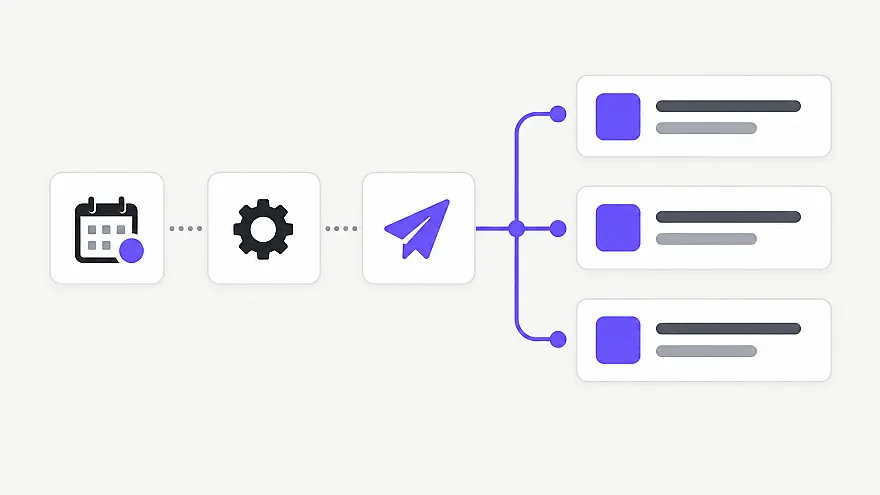
Push notifications are one of the biggest advantages of an app over a website. Depending on your plan, Prestafy lets you segment audiences, schedule campaigns, automate key customer-journey messages and track performance, without any server-side code.
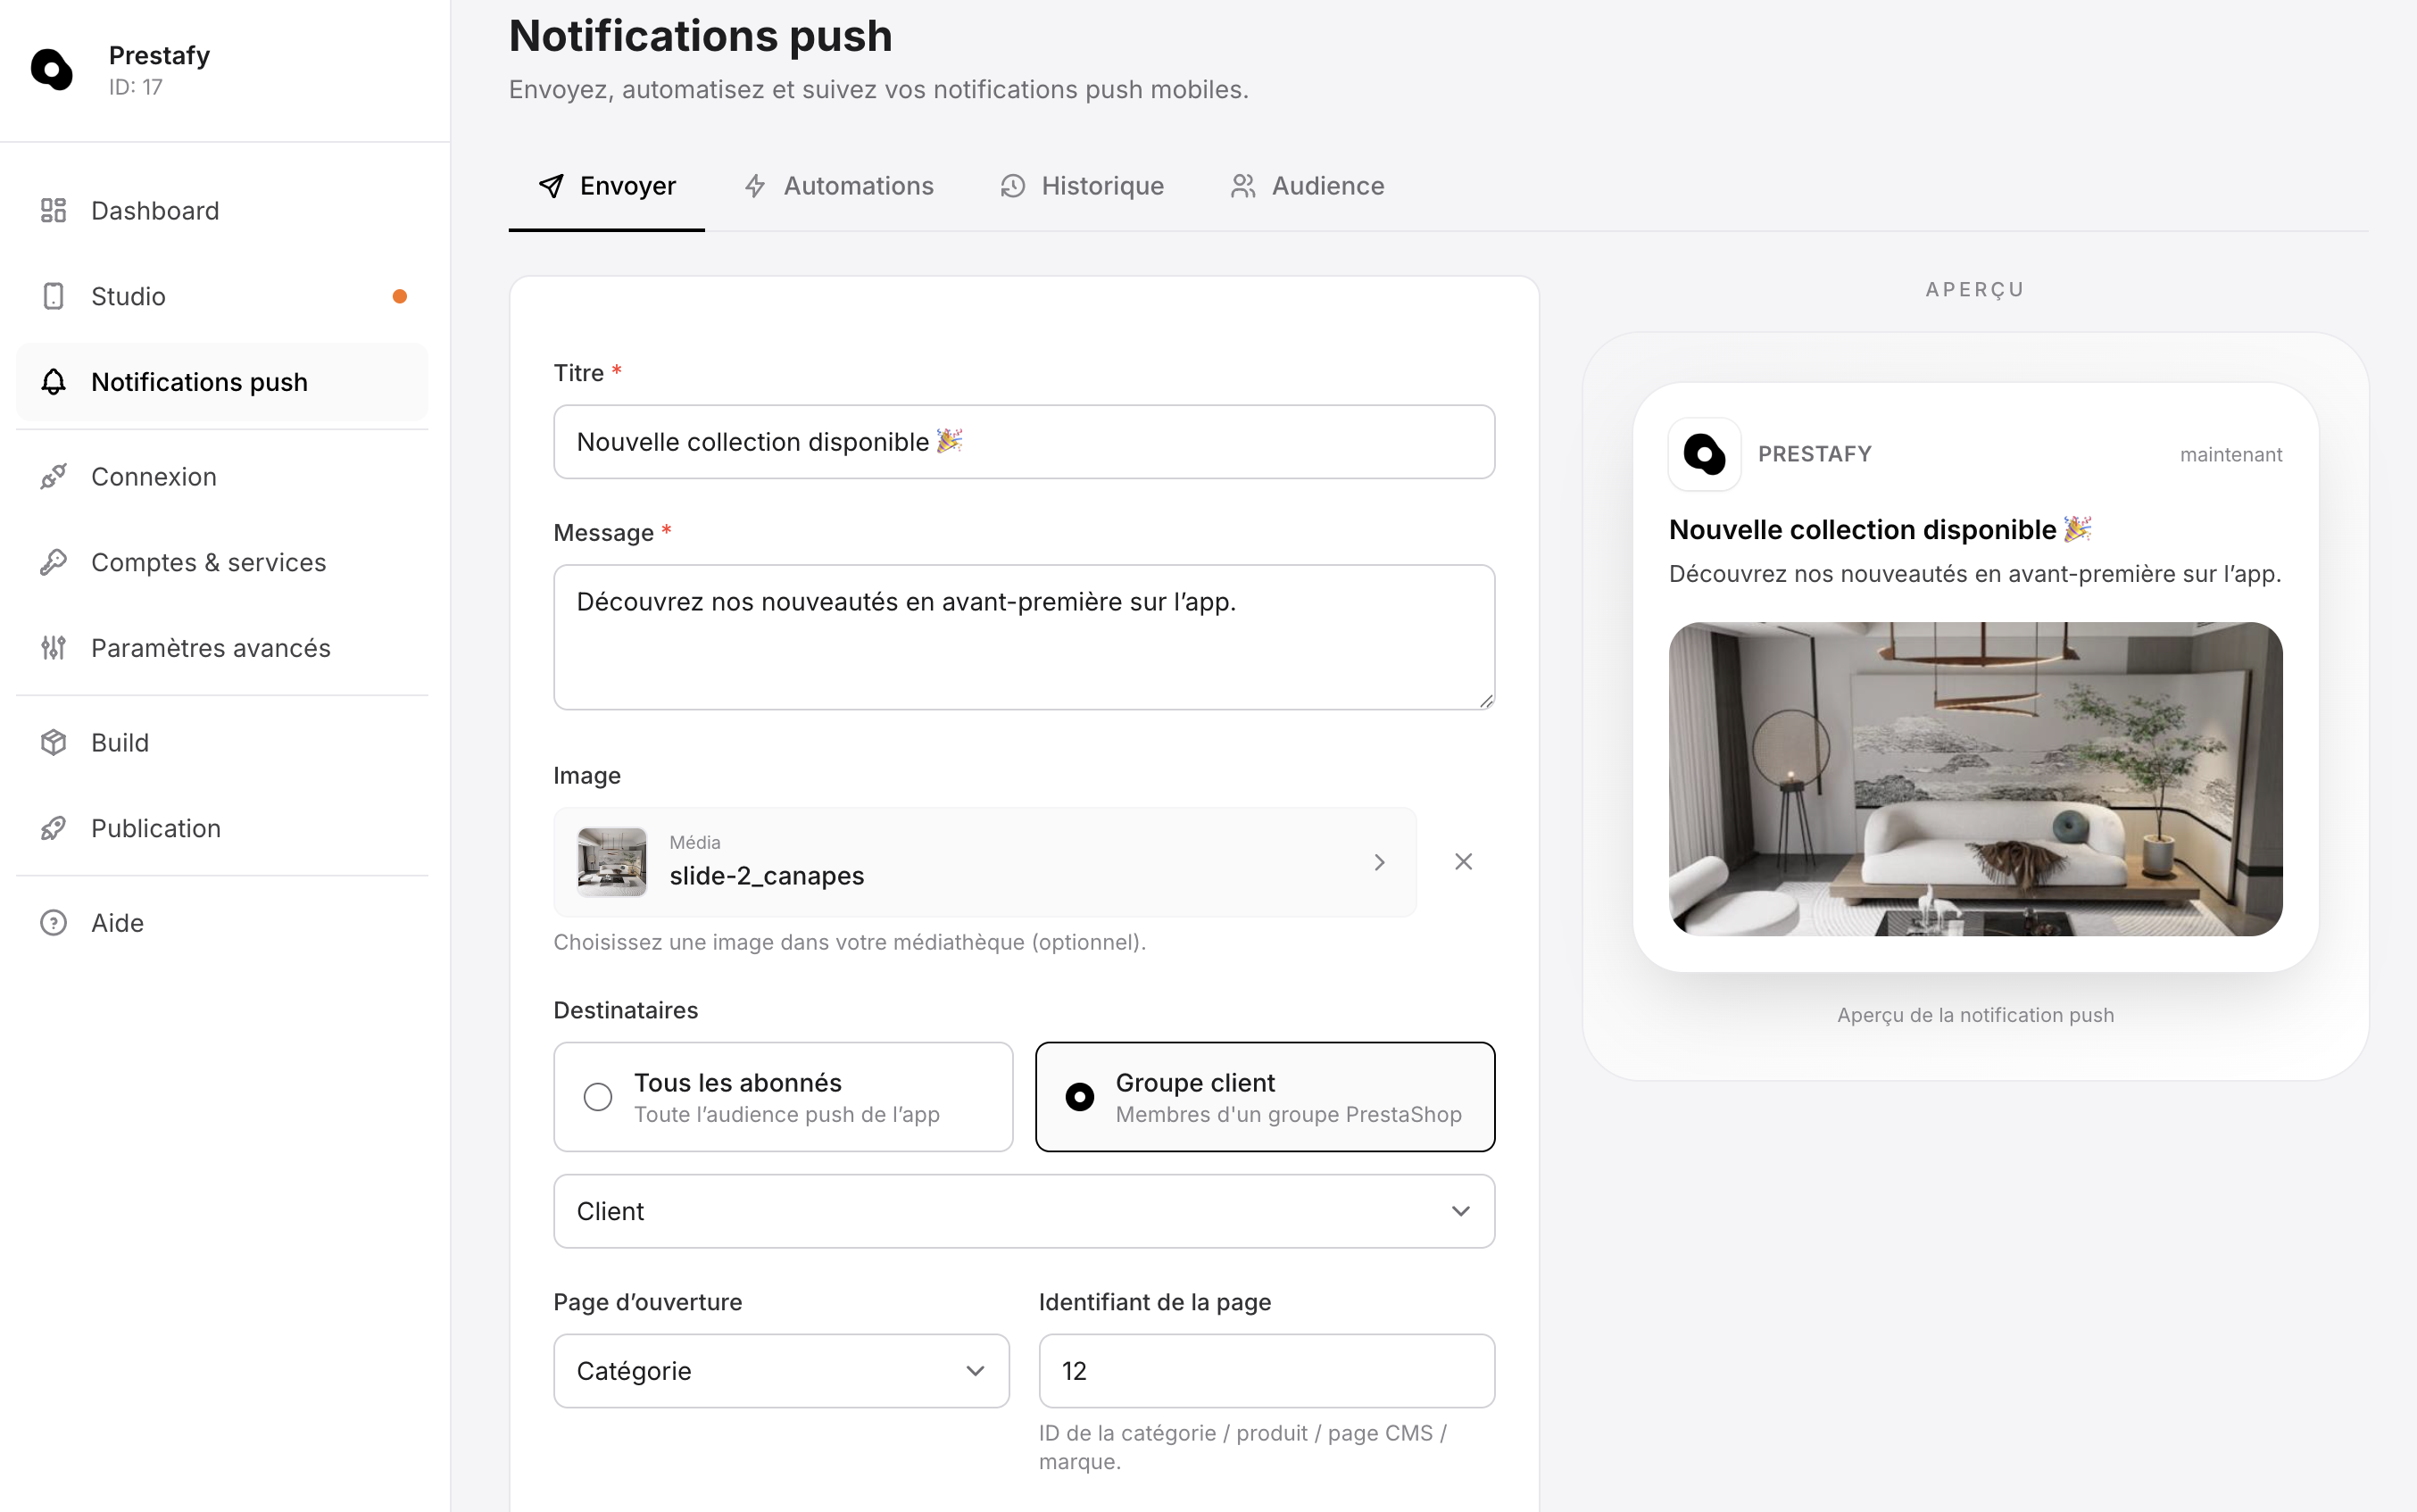
Write and send push notifications, with an instant preview.
For a complete walkthrough, read our guide to PrestaShop push notifications, covering audiences, segmentation, scheduled campaigns, automations and performance tracking. They can also help reduce mobile cart abandonment.
Go further: optional integrations
From the Integrations tab in your dashboard, you can enable additional services and features in one click, depending on your needs. None of them are required to publish your app.
Customer reviews: display reviews already collected with Avis Vérifiés, Trustpilot or Google in your app.
SendCloud: offer pick-up-point delivery directly in checkout.
Pixels, tags and analytics: send conversion data to advertising campaigns and measure your audience with Google Tag Manager and Firebase Analytics.
Advanced push campaigns with OneSignal, back-in-stock alerts, age restrictions, install banners and more.
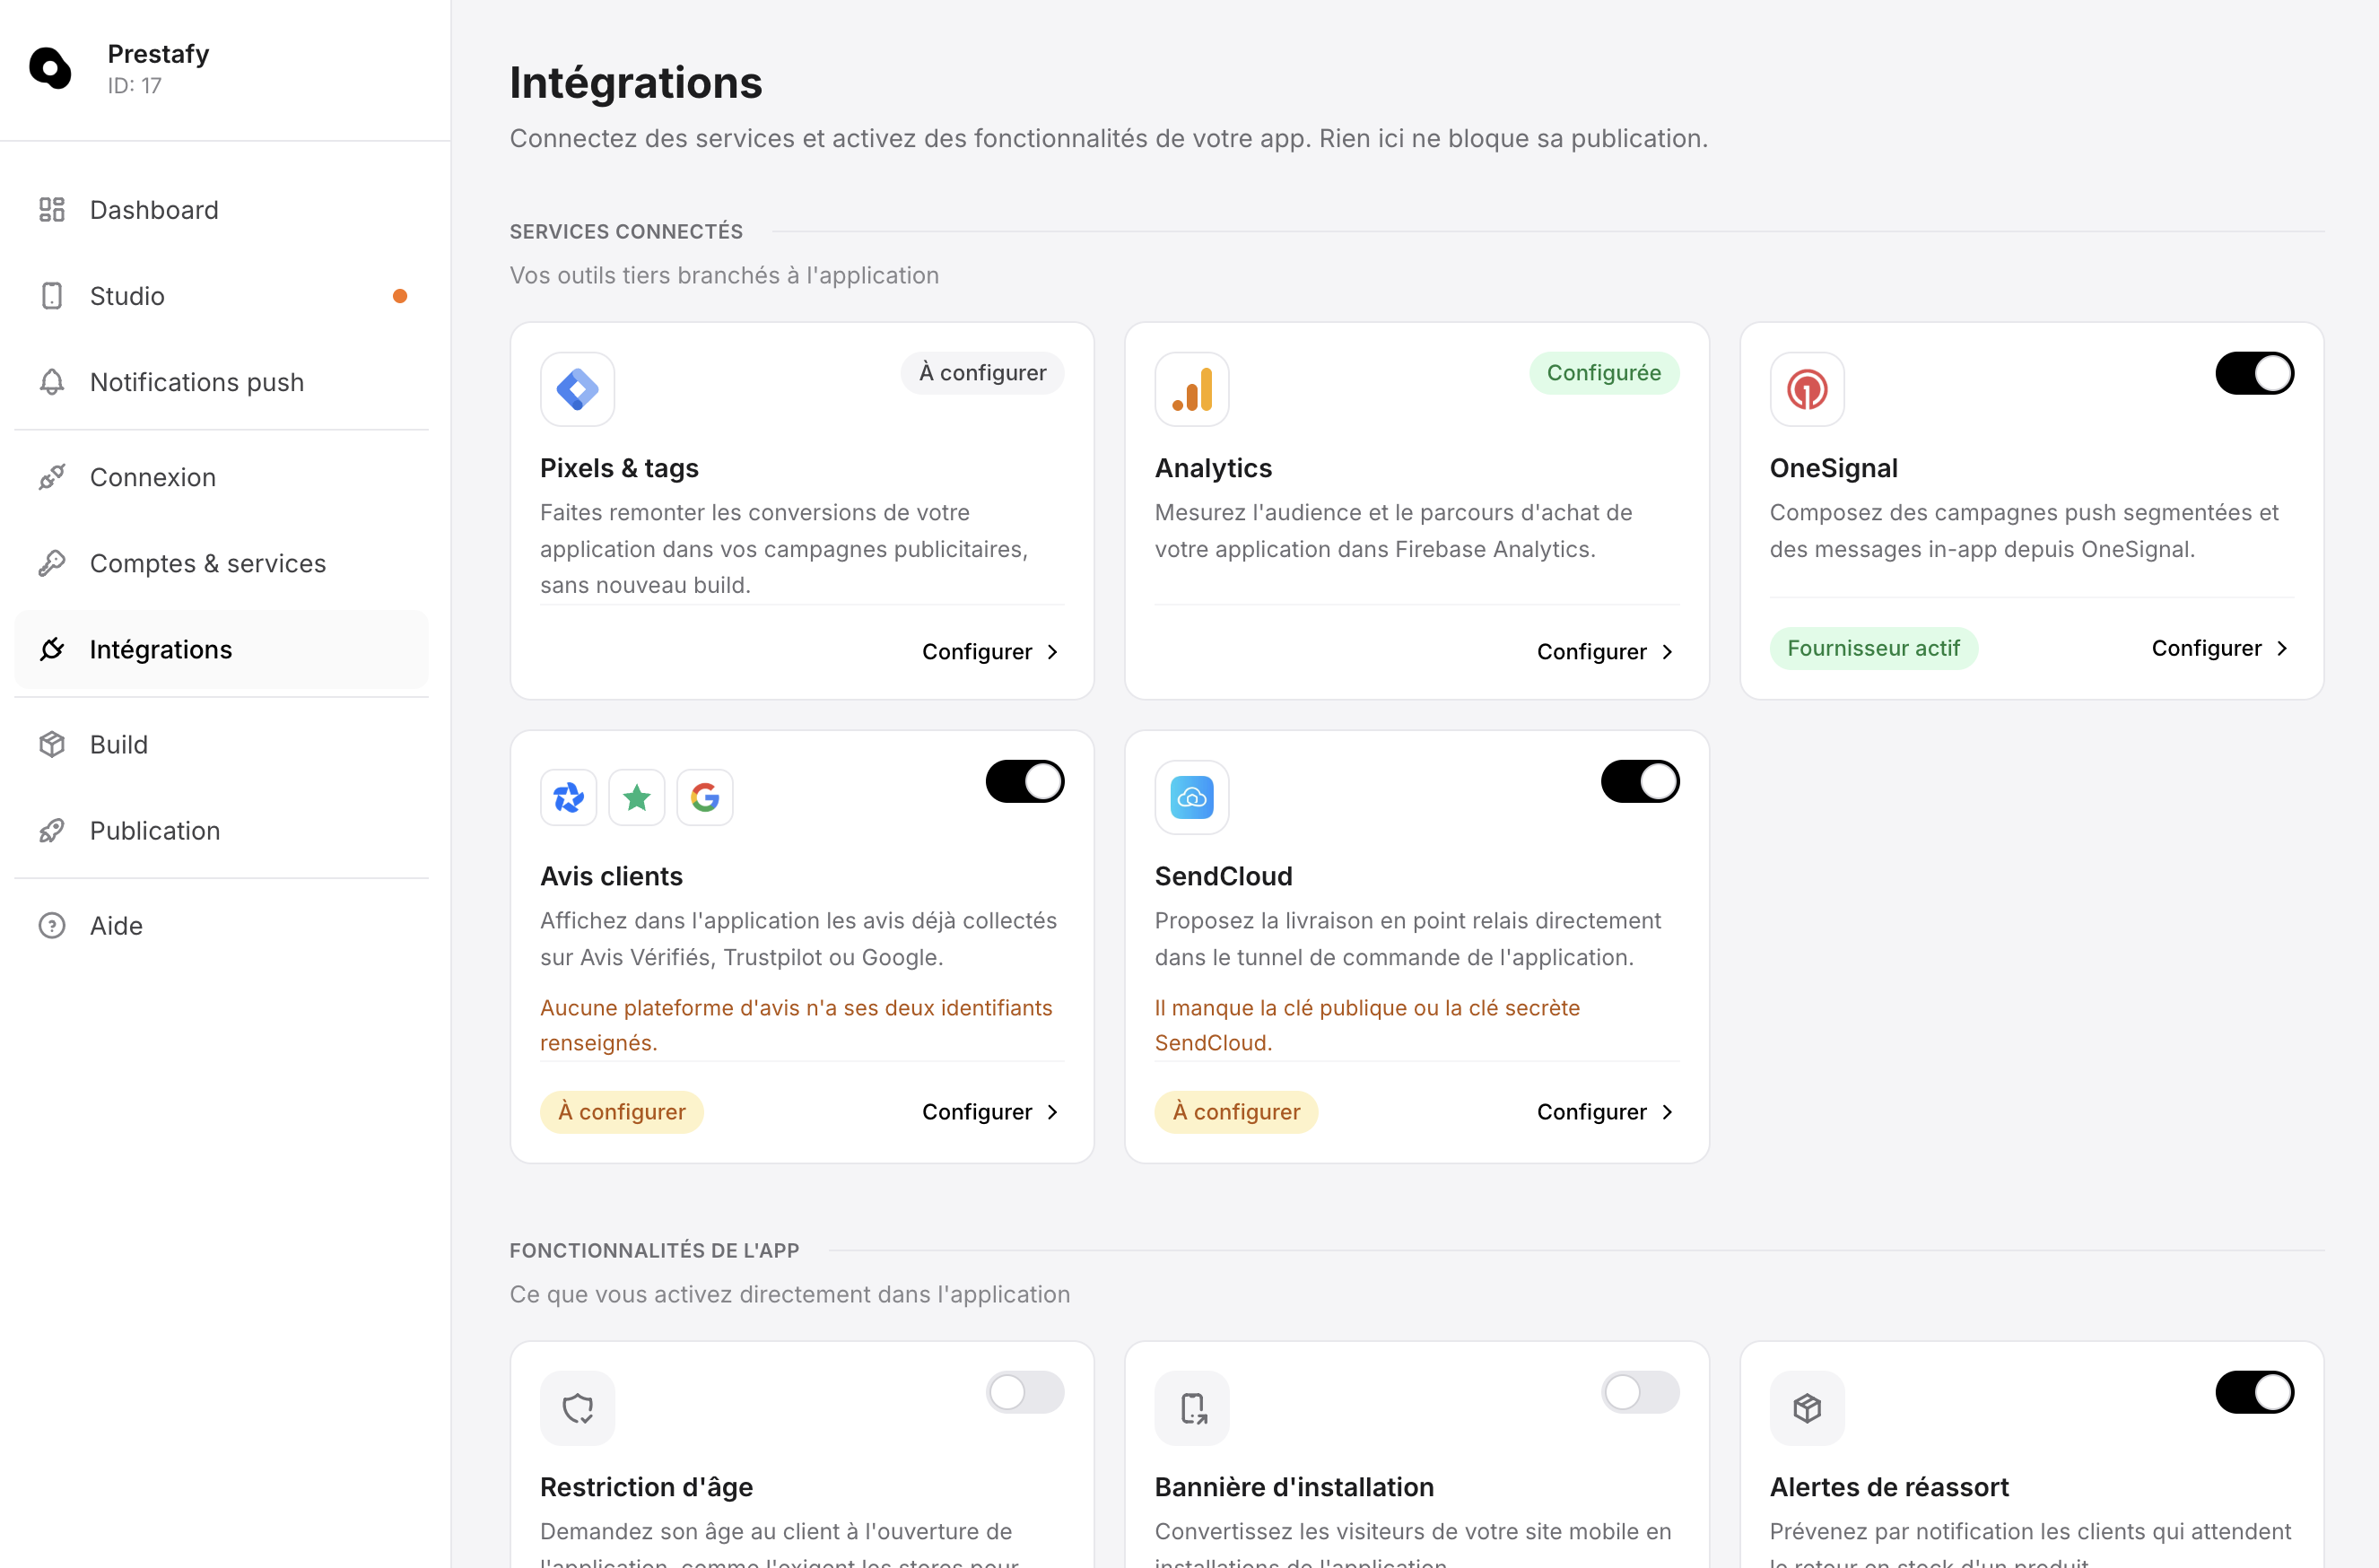
The Integrations hub: enable services and features for your plan without a new build.
Some integrations depend on your subscription plan.
Step 6 : Publish your app on the App Store and Google Play
Once your app is customised, Prestafy compiles and signs the iOS and Android versions for you, without requiring you to install a development environment.
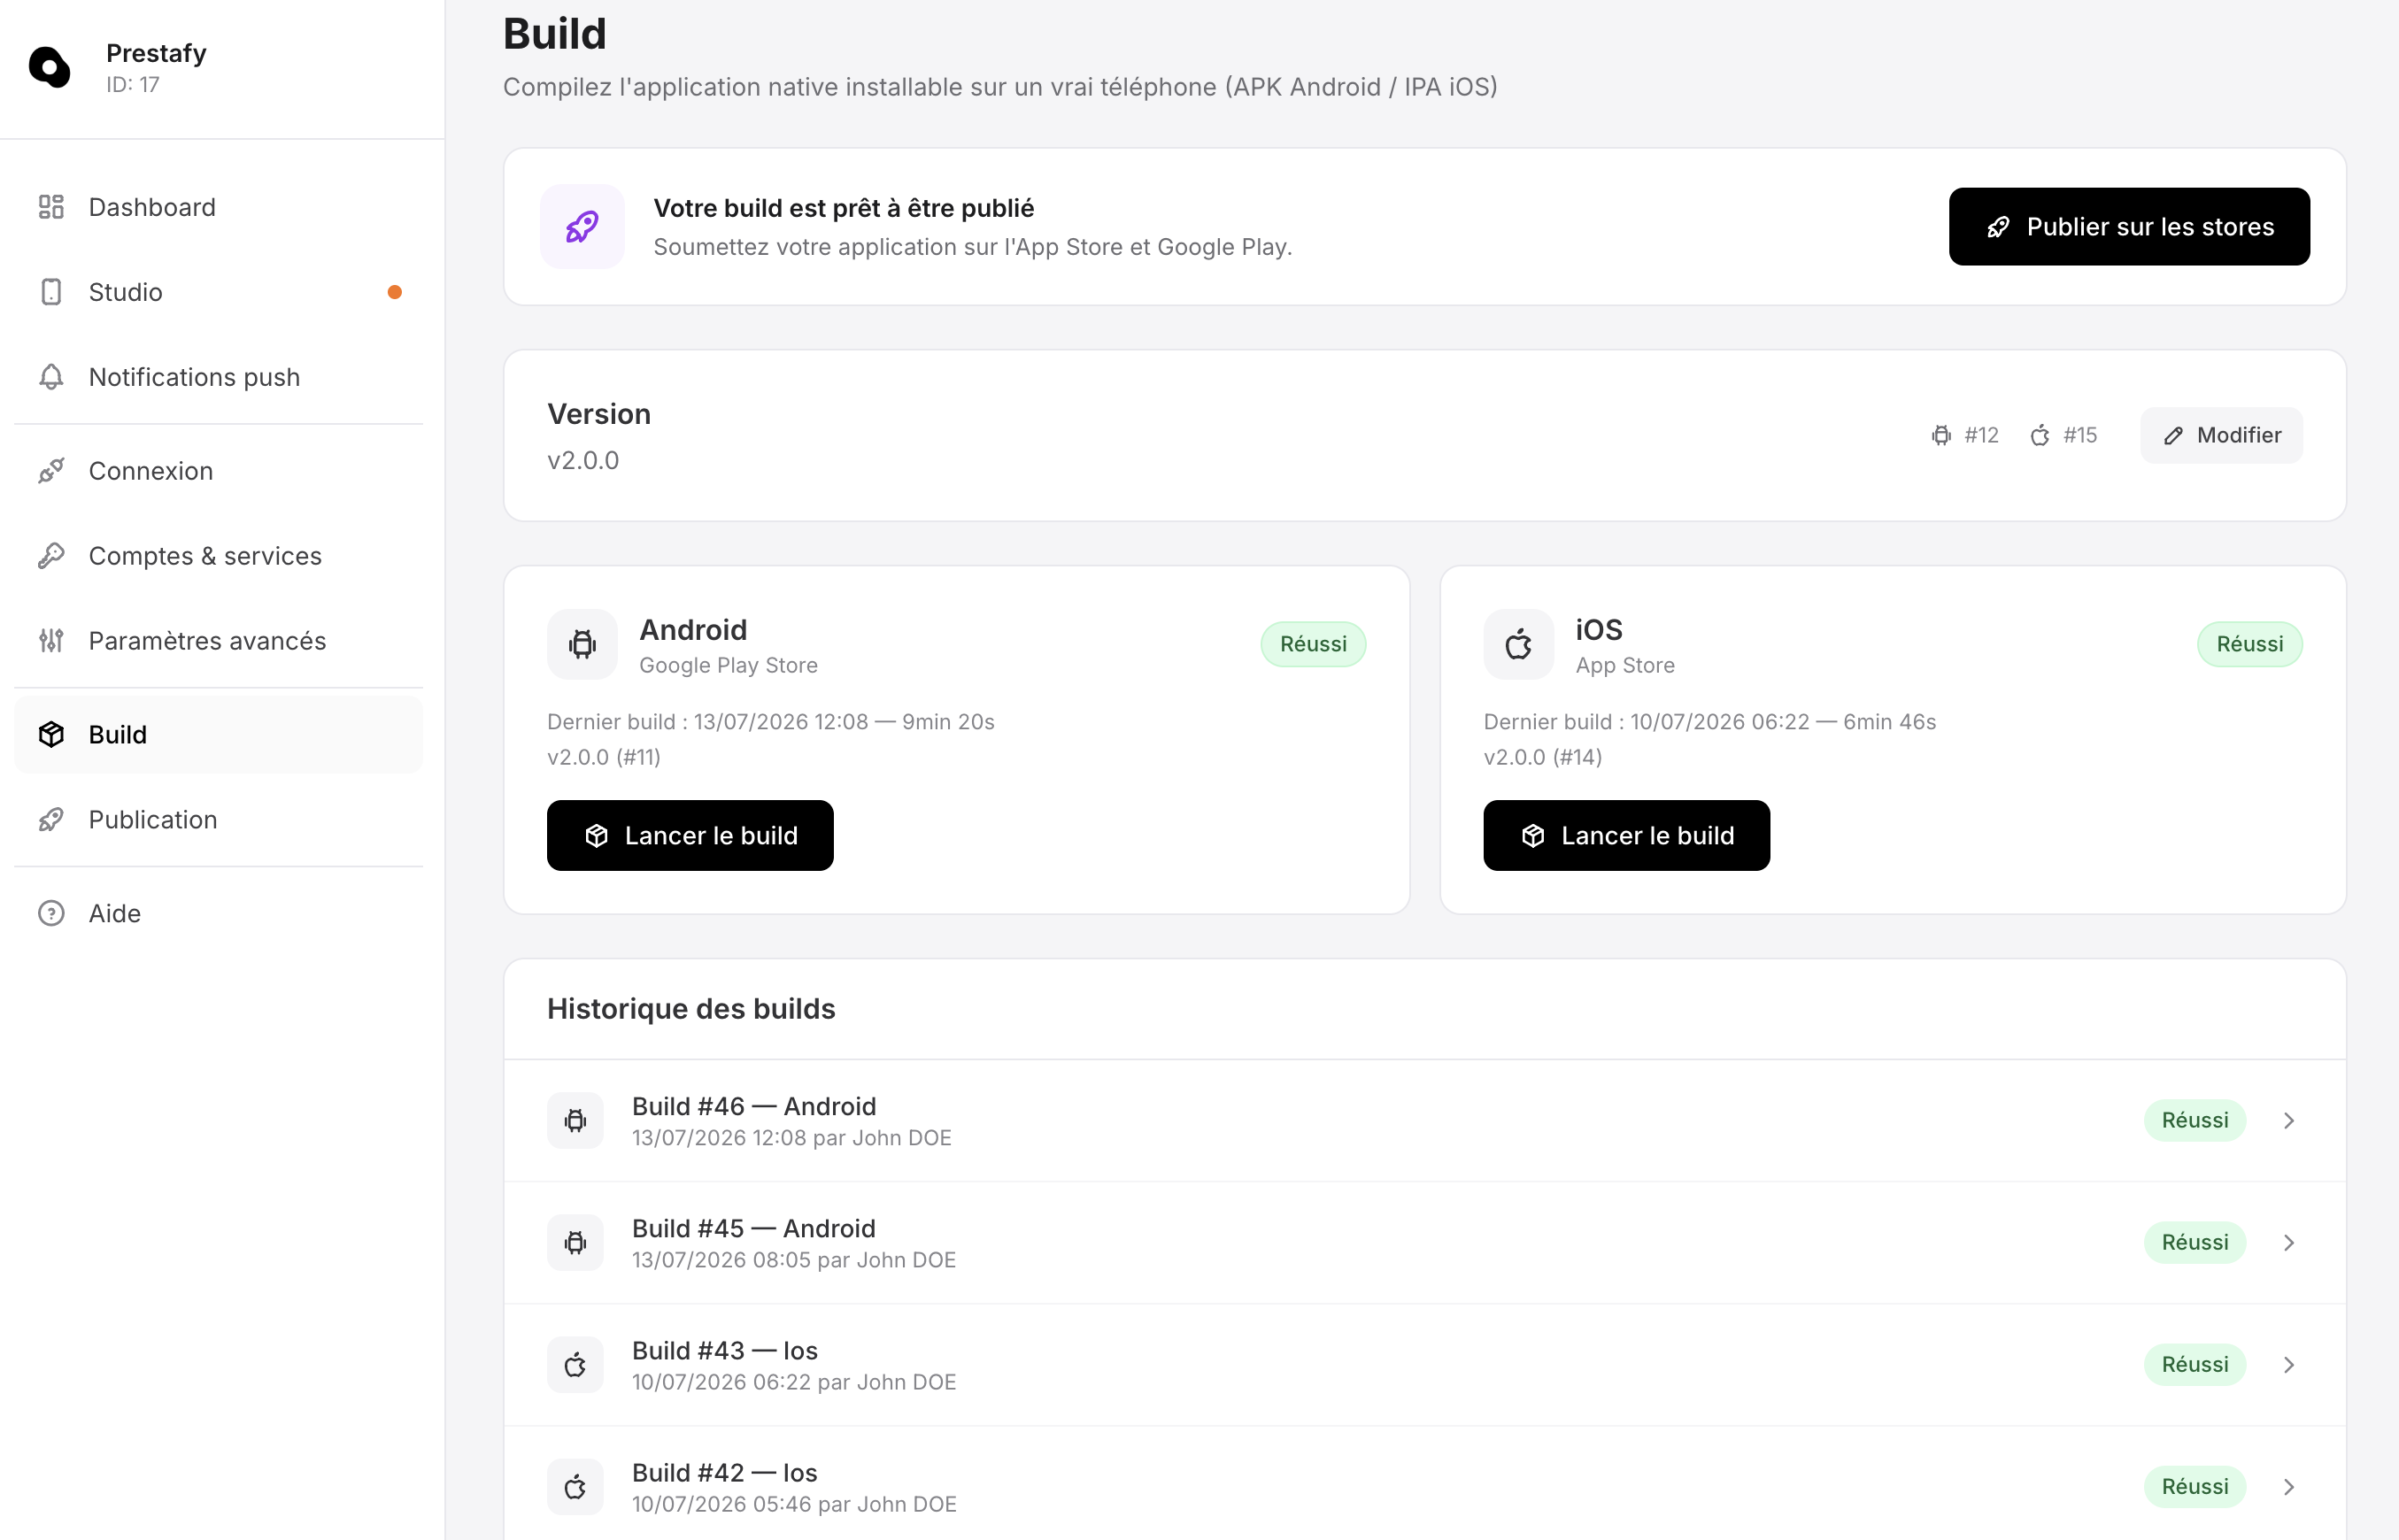
Prestafy compiles your native app. The Android APK is used for testing; publication on Google Play uses an AAB file. The iOS version is provided as an IPA.
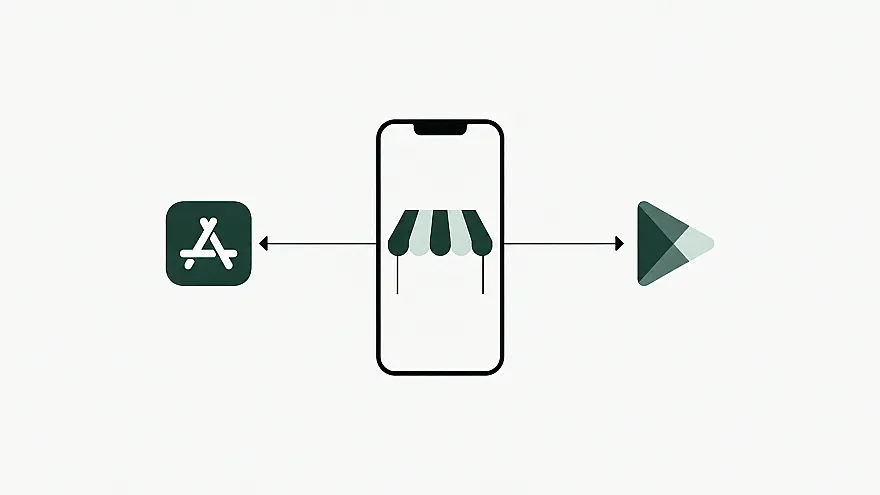
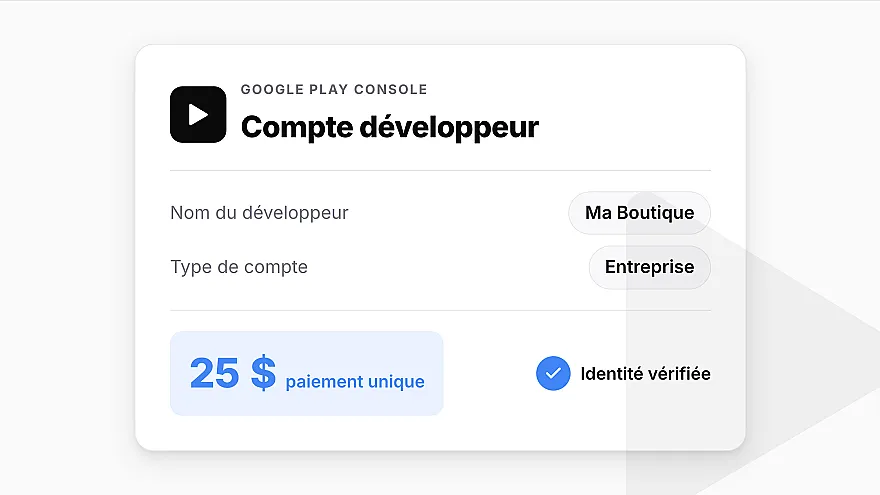
You only need to submit it to the stores. Because the stores require it, one prerequisite remains your responsibility: developer accounts with Apple and Google. We explain the process in our guides to creating an Apple Developer account and creating a Google Play Developer account.
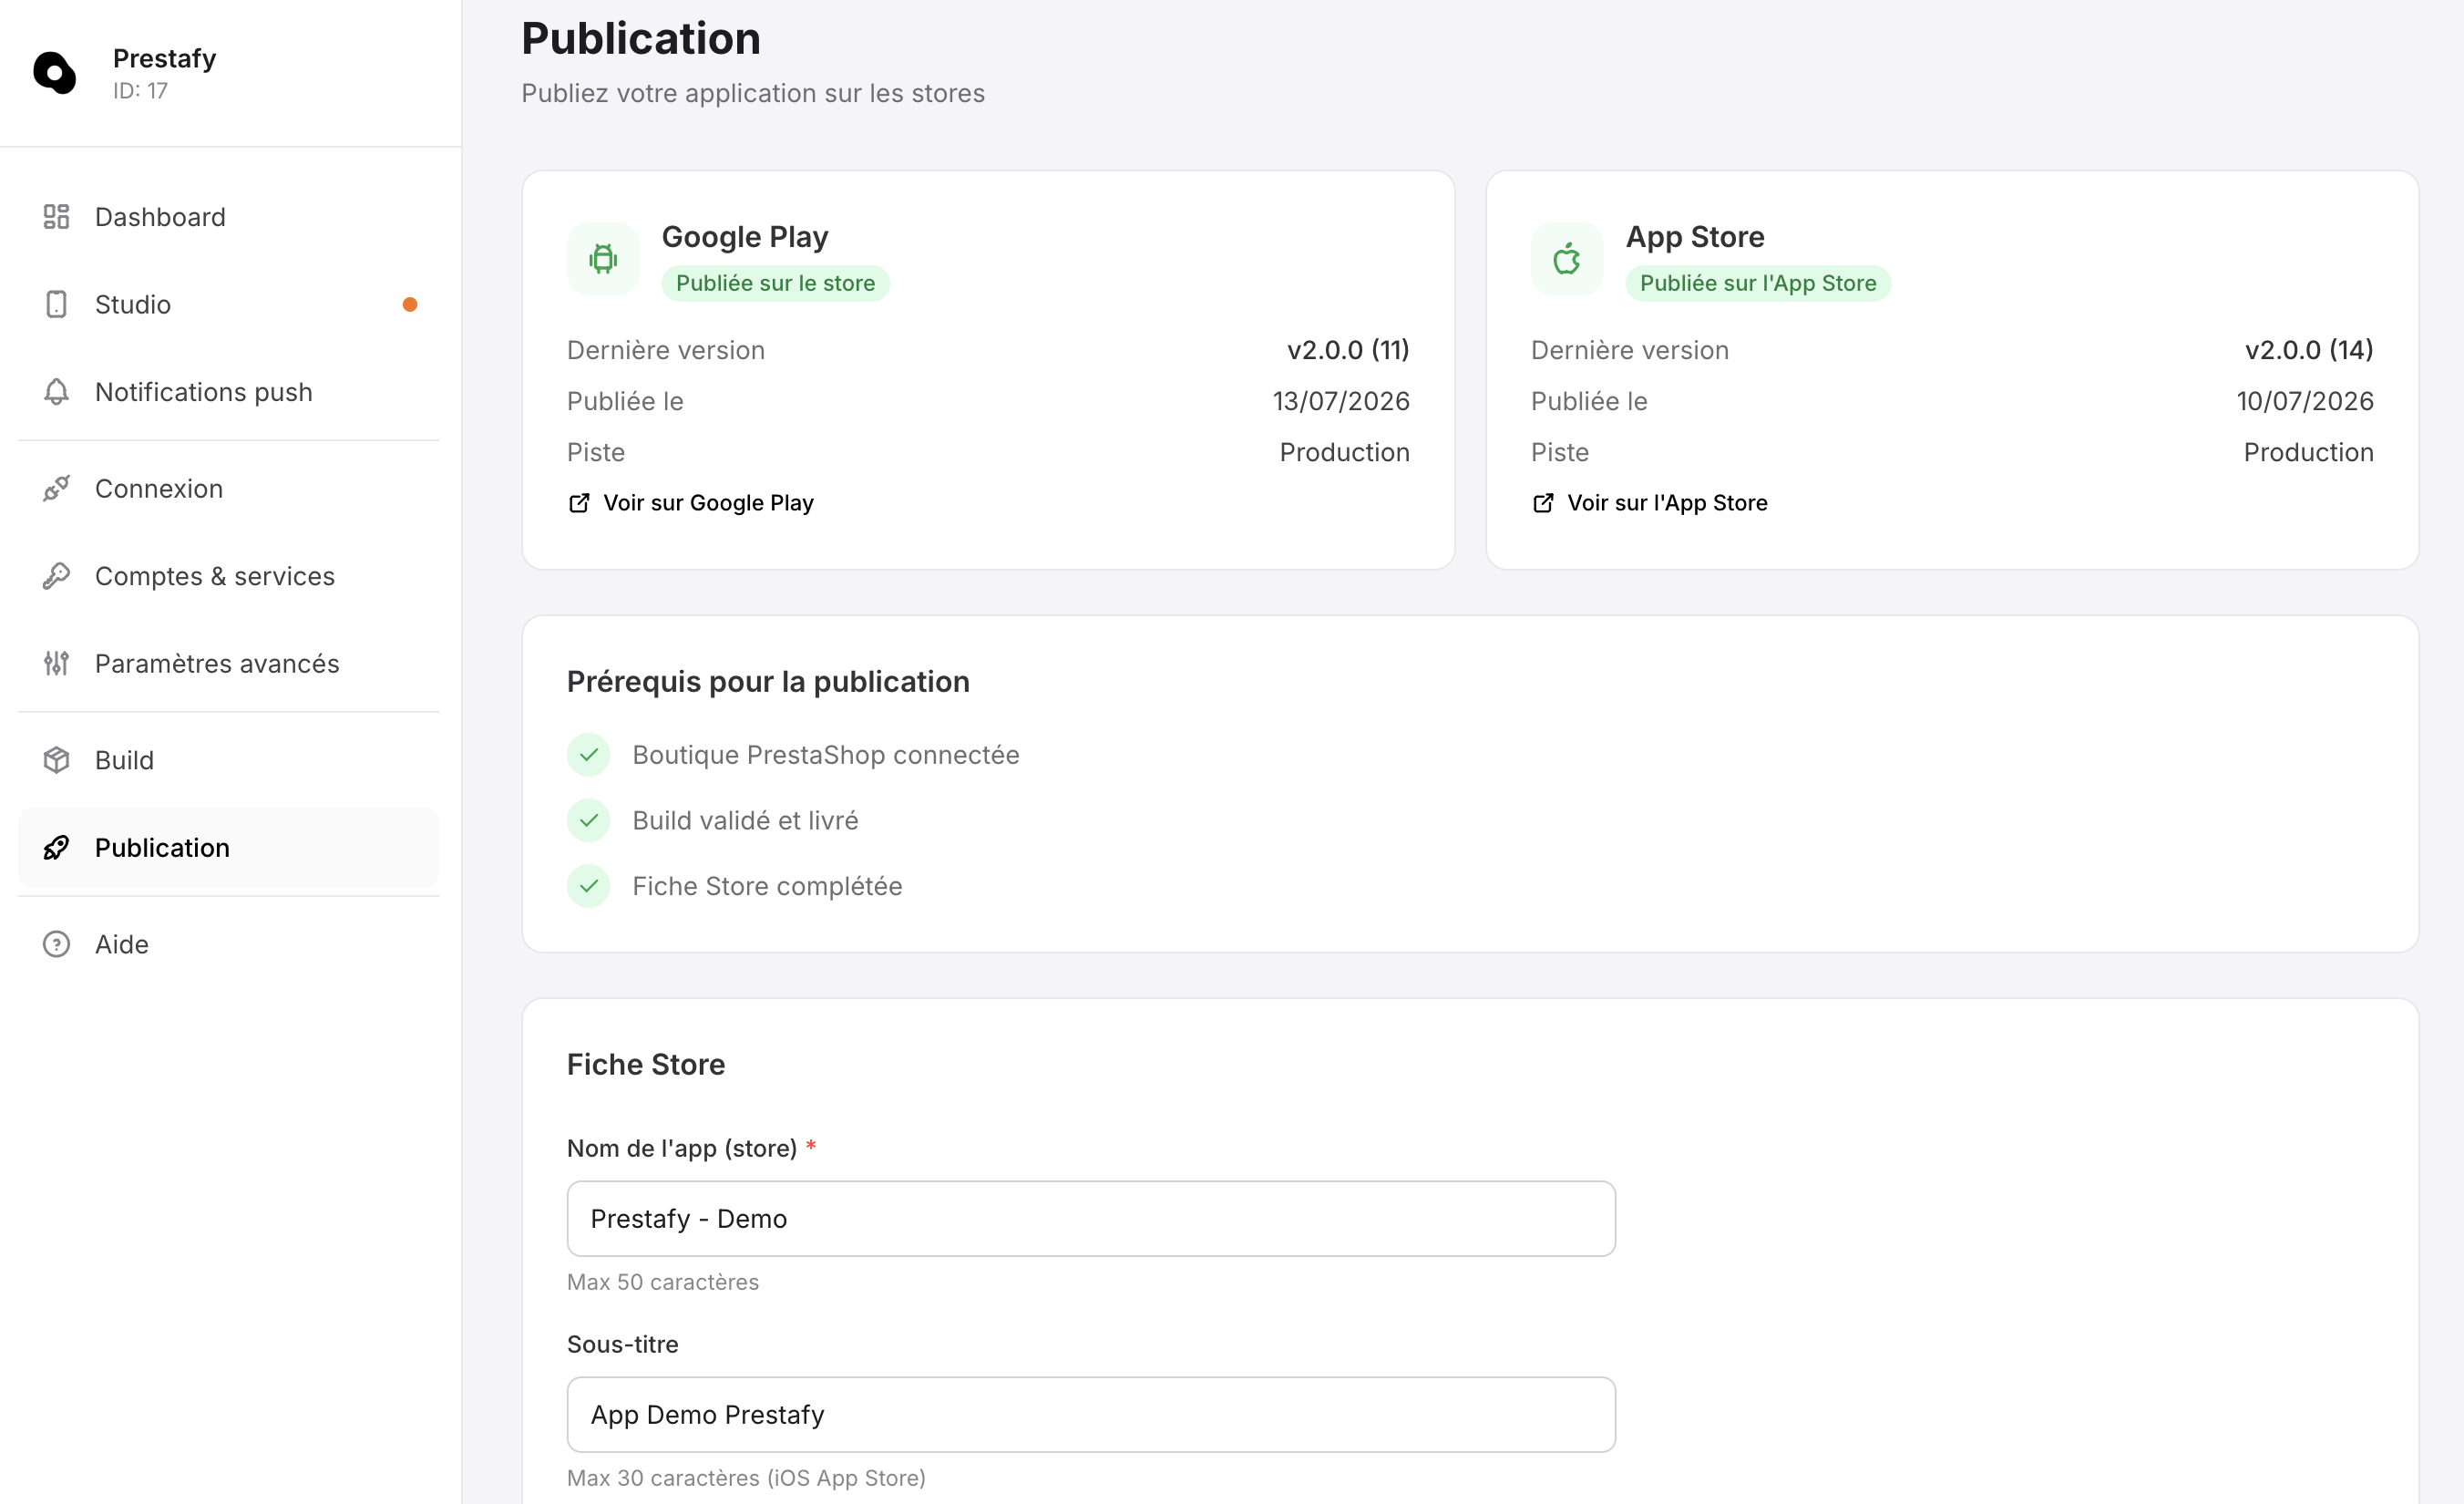
Publish your app on the App Store and Google Play.
For end-to-end publication, read our complete guide on publishing an app on the App Store and Google Play.
The result: your PrestaShop store in your customers’ pockets
In just a few steps, you get a branded native mobile app that stays synchronised with your PrestaShop store in real time. Your catalogue, prices, stock, cart and orders remain aligned. Customers install your app, receive your notifications and order in a few taps.
Summary
You now know how to create a PrestaShop mobile app without coding: install the module, connect your store, customise it in Studio, then publish it to the stores. Prestafy handles compilation, signing and submission, while you retain control over your design and content and keep your app synchronised with your store.